
I’ve done a lot of photography in my life. But I’ve never really dipped my toe into the parallel world of printmaking, which is weird I guess because in the area of this ‘old fashioned’ photography, printing photographs is equally as important as the taking pictures part. Not only that, but for me it offers my favourite thing: a million different bits I can screw up, which is something I usually can’t resist!
Since recently I’ve been messing around a lot with wet plate photography (project here), I have an awful lot of glass negatives lying around. These are great on their own, as they can be framed and have their backs painted (or ‘japanned’ with asphalt if you are actually doing things correctly, unlike me); anyways the result is quite nice! and looks like the first image below. The image is now a one-of-a-kind photograph, and can never be reproduced. Alternately, if the glass is unpainted and held up to light, it appears as a negative, as the second image below. (The two images are of the same glass plate…the lefthand one was scanned with a dark background card behind it to show the plate as a positive image).


The benefit of leaving the glass plate unpainted and in its ‘negative’ state is that it can be used to make prints. Thats the general idea of this project.
There are a handful of common methods for printmaking using glass plate negatives. All of them are super cool and interesting and I hope to try them all out! But for now I’ll stick to the ‘easiest’ method (i.e. the method that uses chemicals that I already happen to have in my darkroom…) which is known as ‘salt printing’. This method is also one of the oldest photographic print methods, dating from 1839.
The process goes like this:
I mix a 2% pure salt solution (photographers use ammonium chloride but pure sea salt works as well), and brush liberally and smoothly onto Ph neutral watercolour paper I taped flat to my worktable (possibilities to mess this up include using the wrong paper, poor brushing, and uneven soaking of the saltwater, or using paper with the wrong texture and fibre size). The paper is air dried for a few hours. Next step is to turn on the darkroom lights and coat the salty paper with liquid silver nitrate. I use my 9% solution because thats the strength I have on hand for my wet plates, but 12-15% also works according to others. The paper is dried again. Whats happening here is the silver nitrate reacts with the sodium chloride to produce silver chloride, which turns black(ish) when exposed to UV light. The true mark of a printer or wet plate photographer is brown stains on our hands and fingers from this stuff. It gets everywhere even when you use gloves.
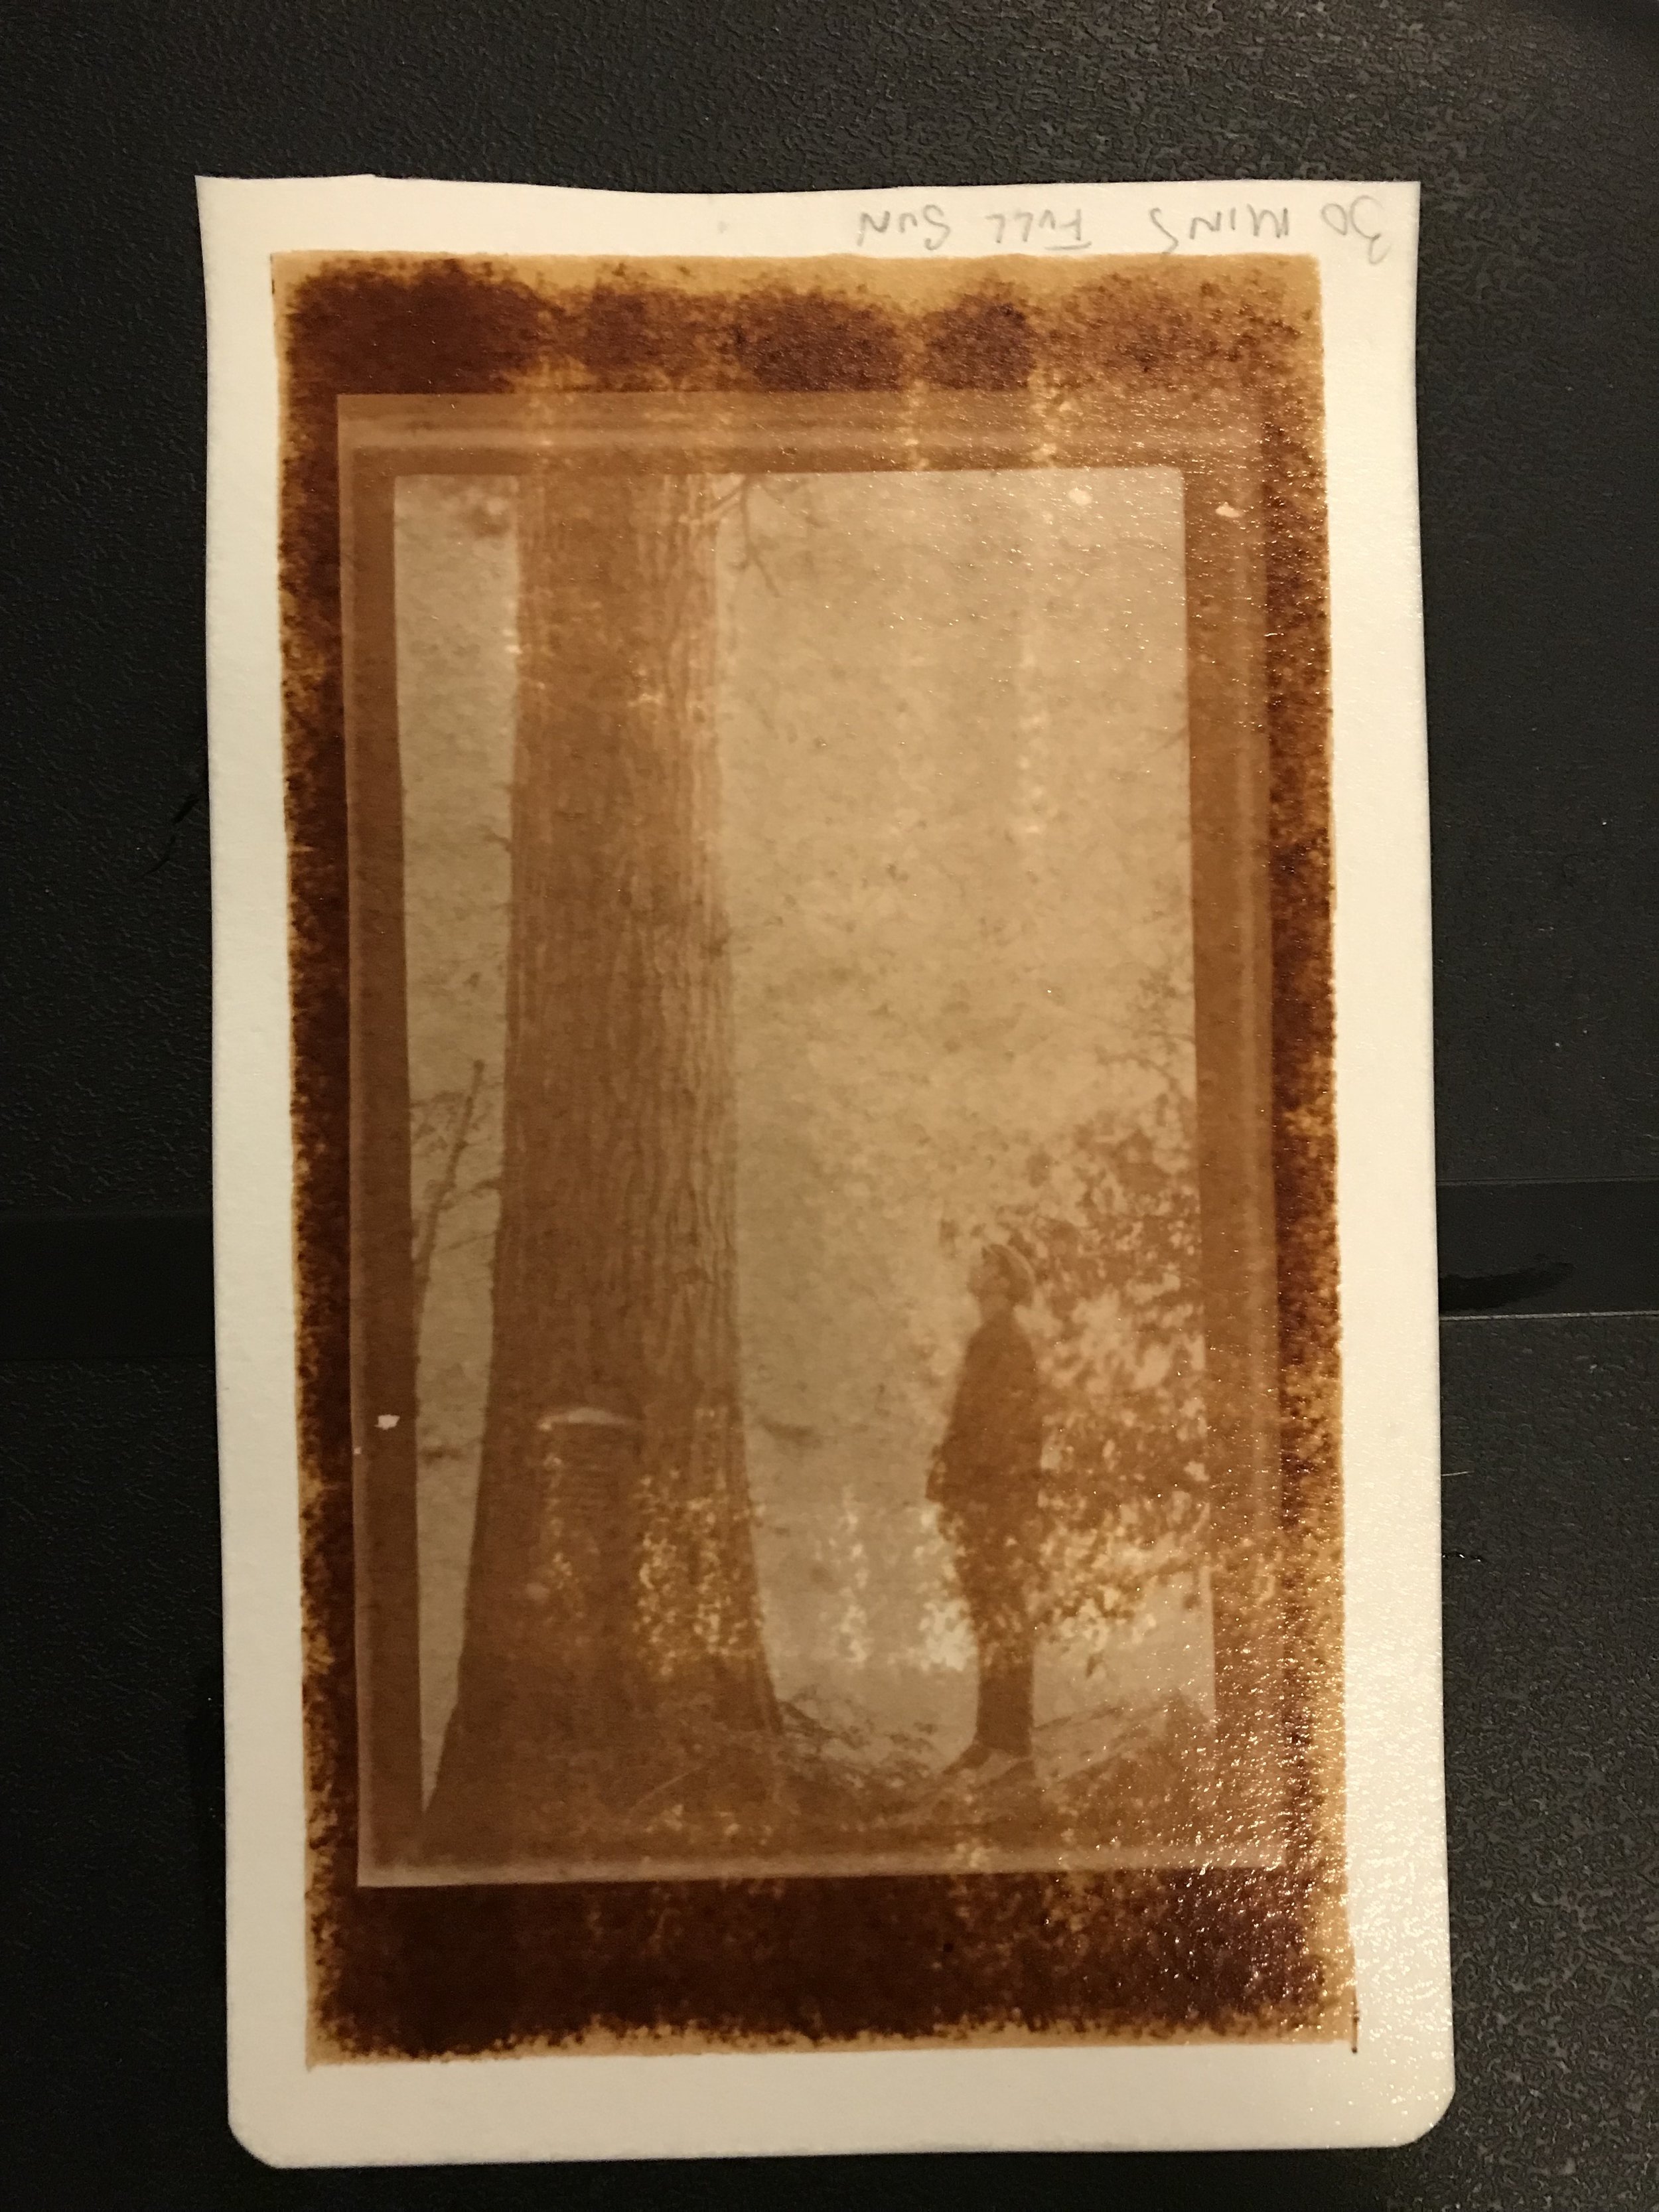
Next the glass negative is pressed firmly onto the coated surface, and is kept tightly in place (I used rubber bands). The print is brought out into sunlight until the paper turns dark purple. This part is the most difficult to guess, as the print is sensitive to UV light, who’s intensity depends on a few hundred different factors it seems. time of day, time of year, cloudiness, amount of green vegetation around (seriously), sun angle, humidity….etc.
Some photos of the process and test prints below!


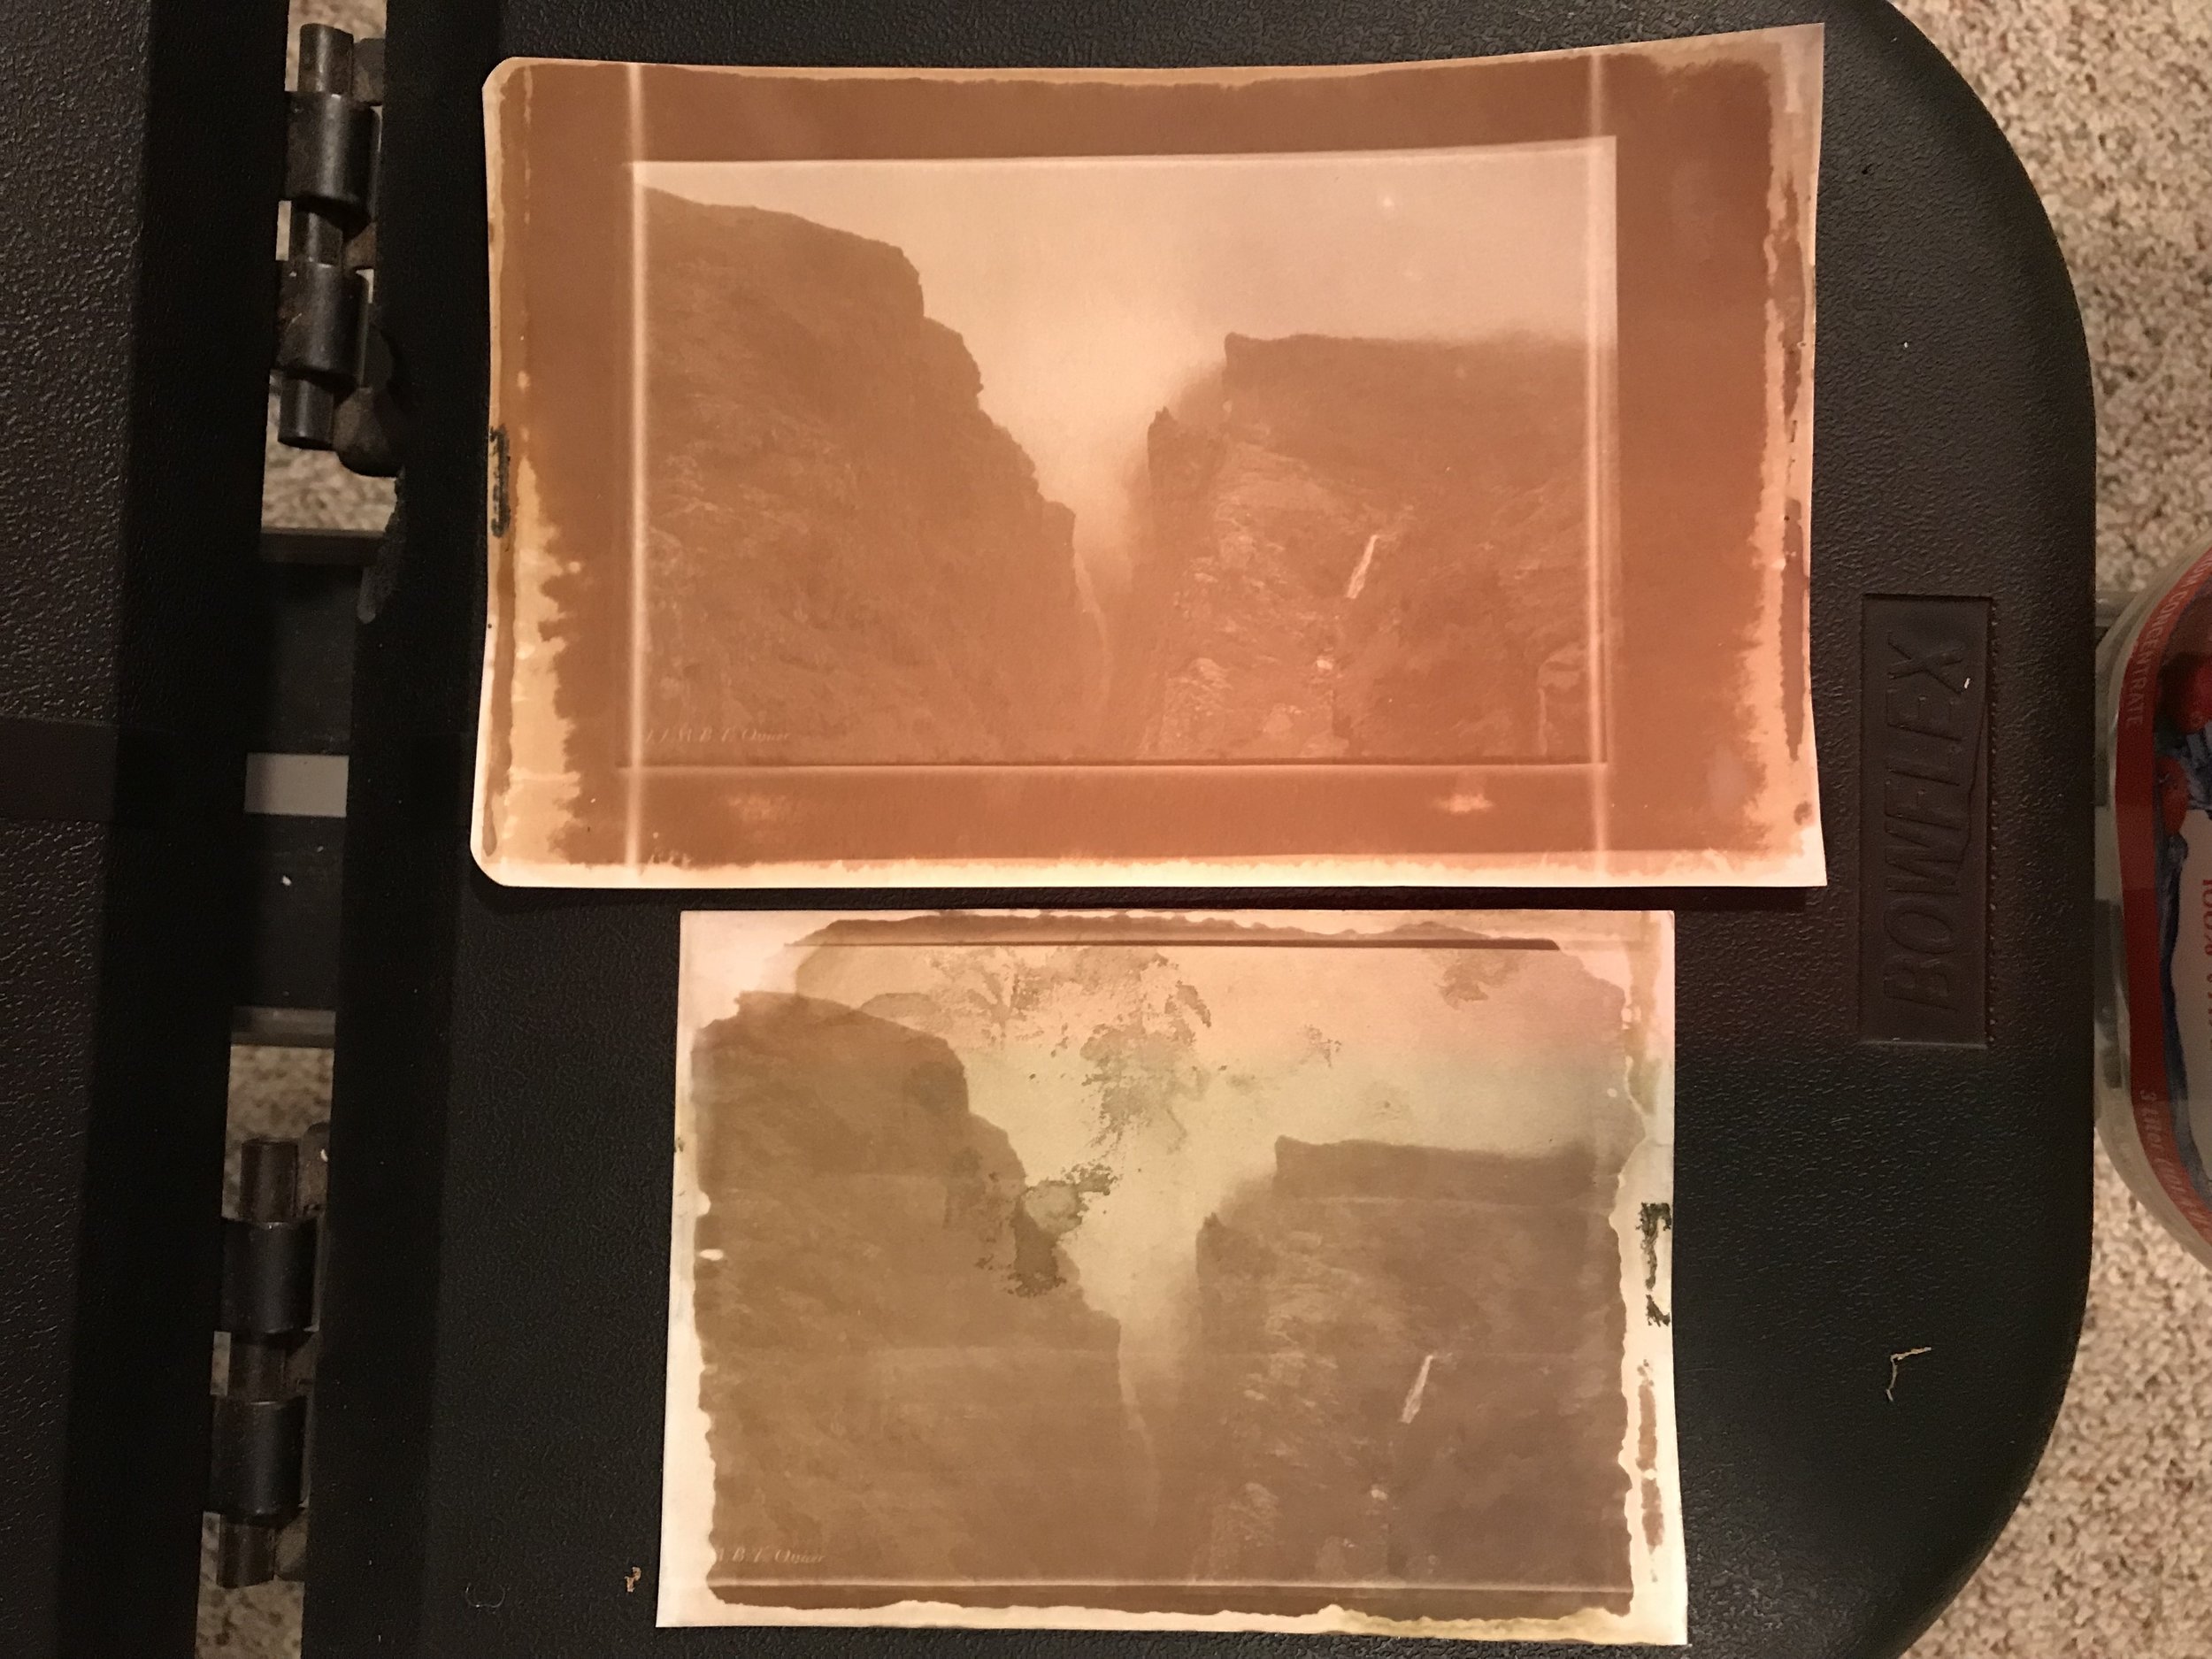
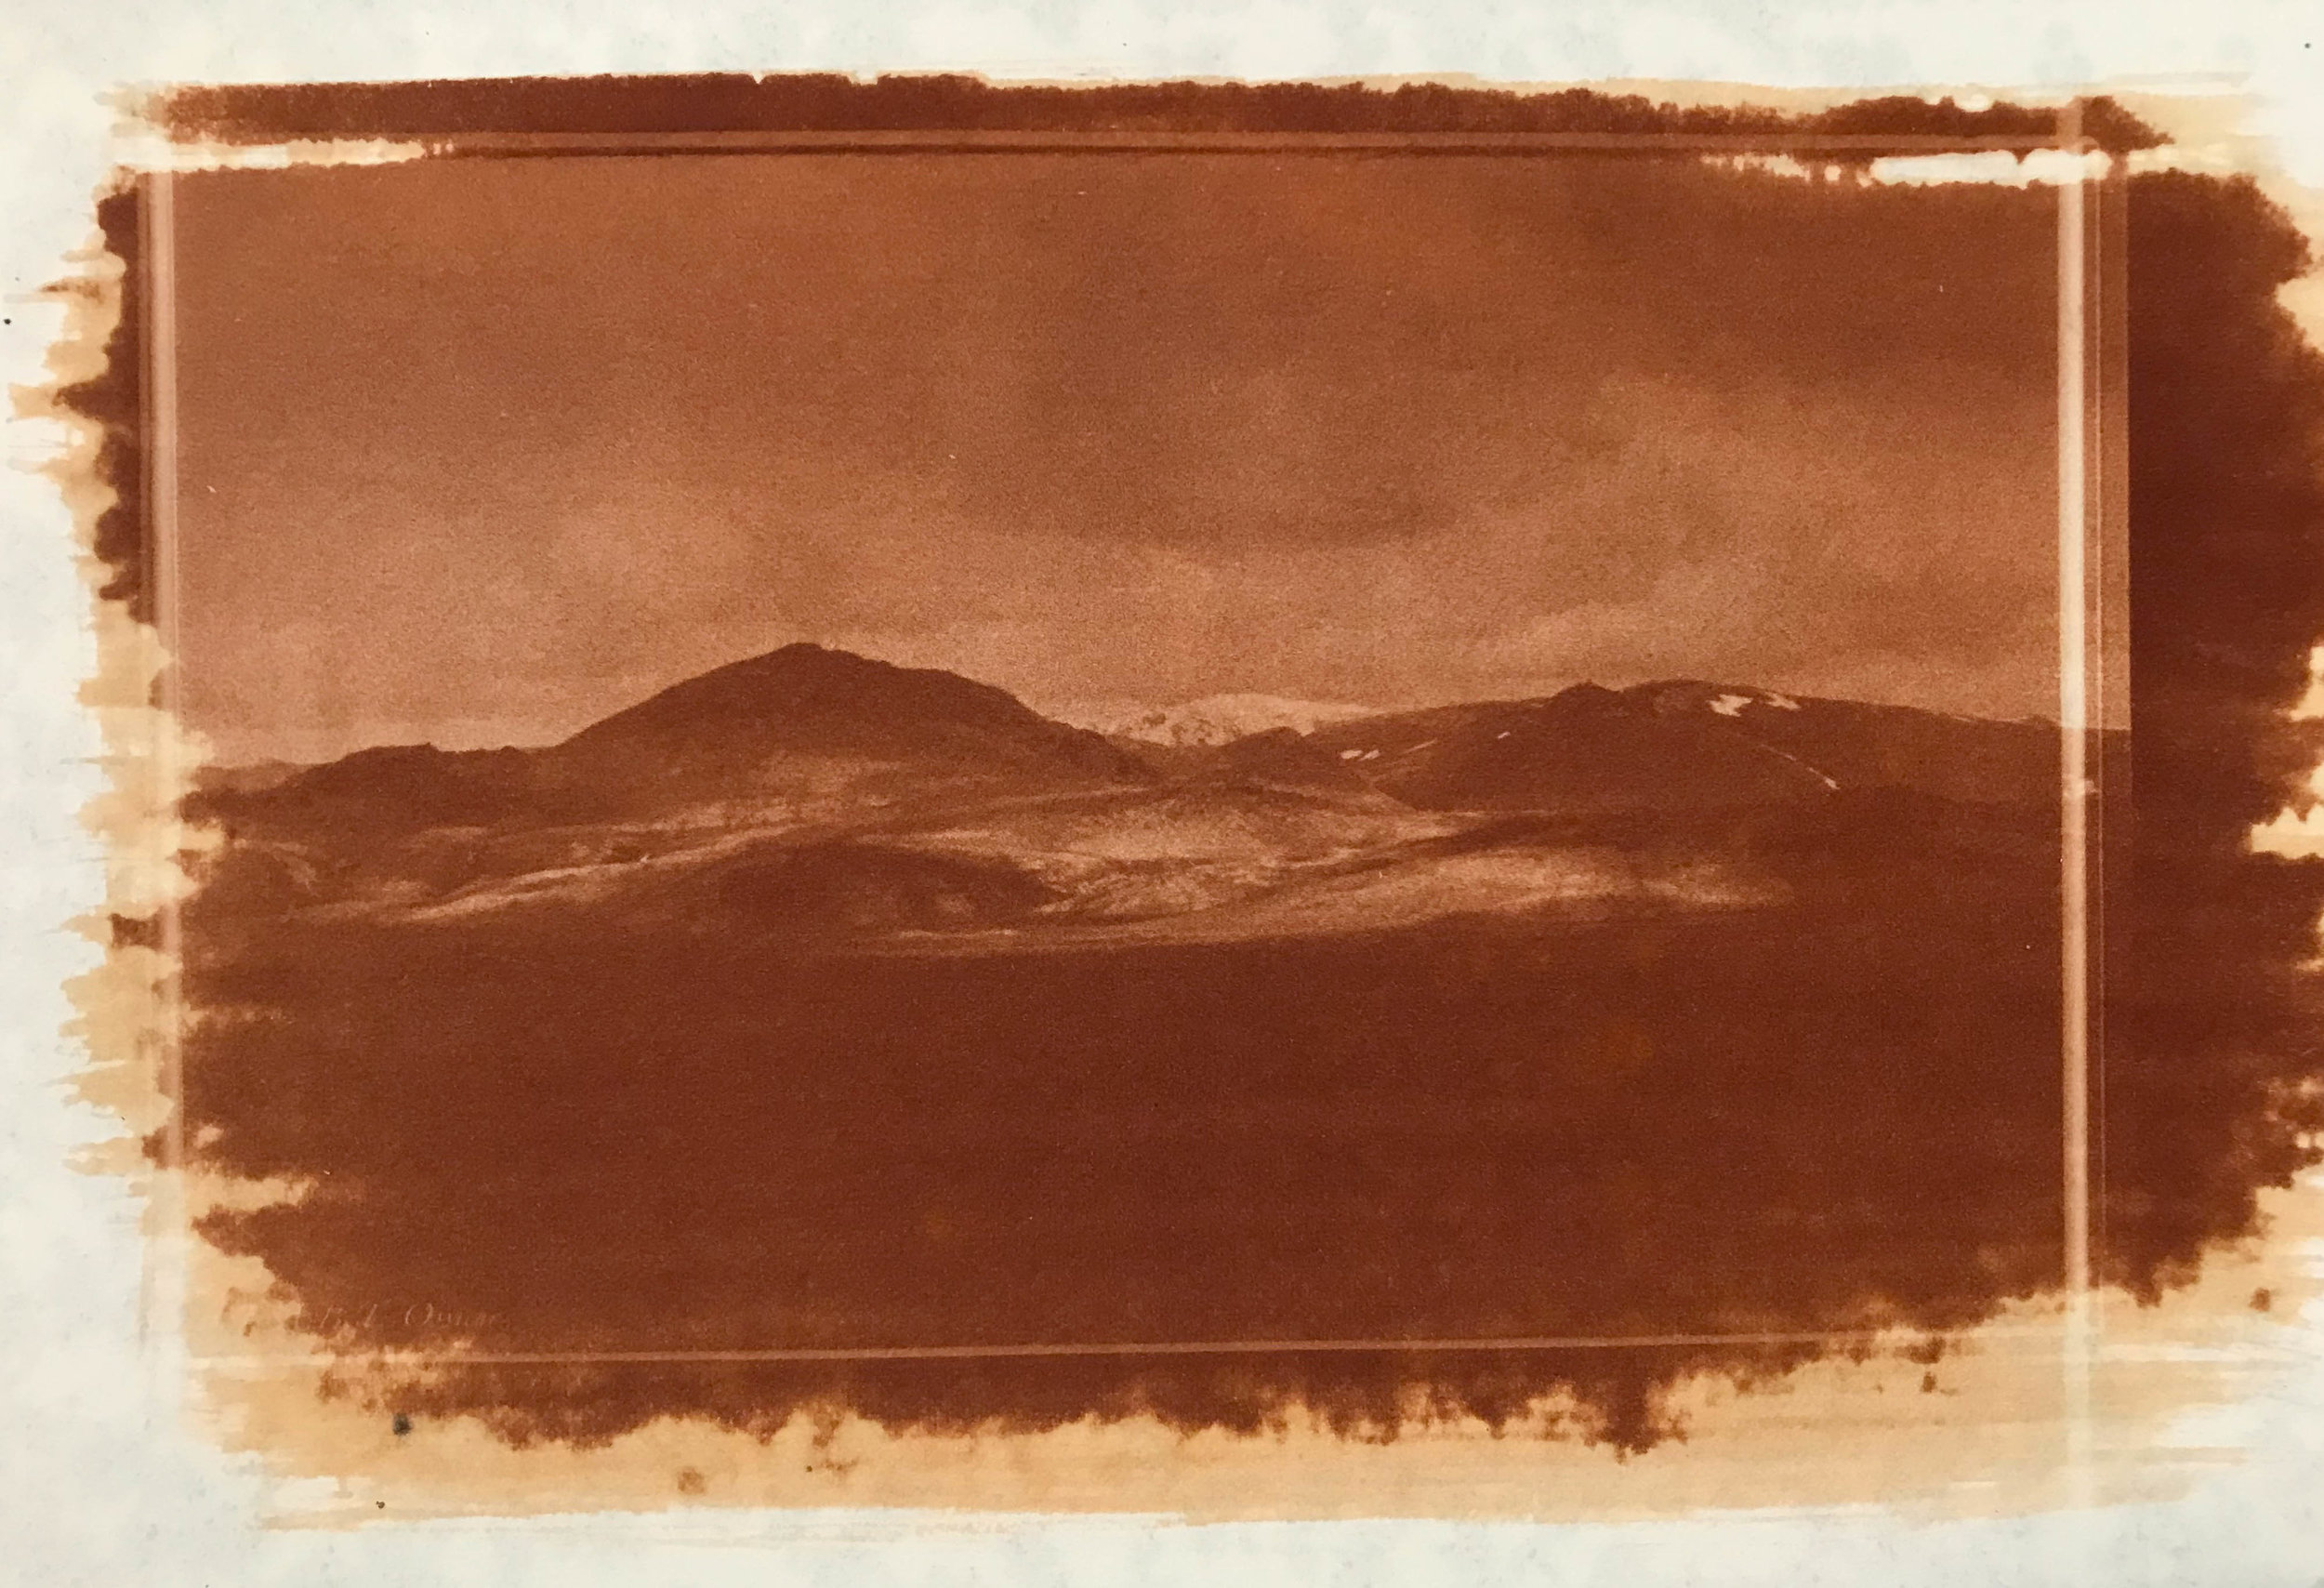
Here are some of the early test prints. As you can see the lefthand print was made on a highly textured watercolour paper which ended up not being to my taste. The brushing of the sliver nitrate was also not perfect, as you can see the varying densities on the print. The prints to the right used different papers with much finer texture. The top print was left in late afternoon sun for a few hours, while the lower print I exposed to bright UV studio lighting inside to try and standardize the exposure time.
Finally below is a print I am totally happy with, which I made a simple paper frame for out of a slightly thicker paper.
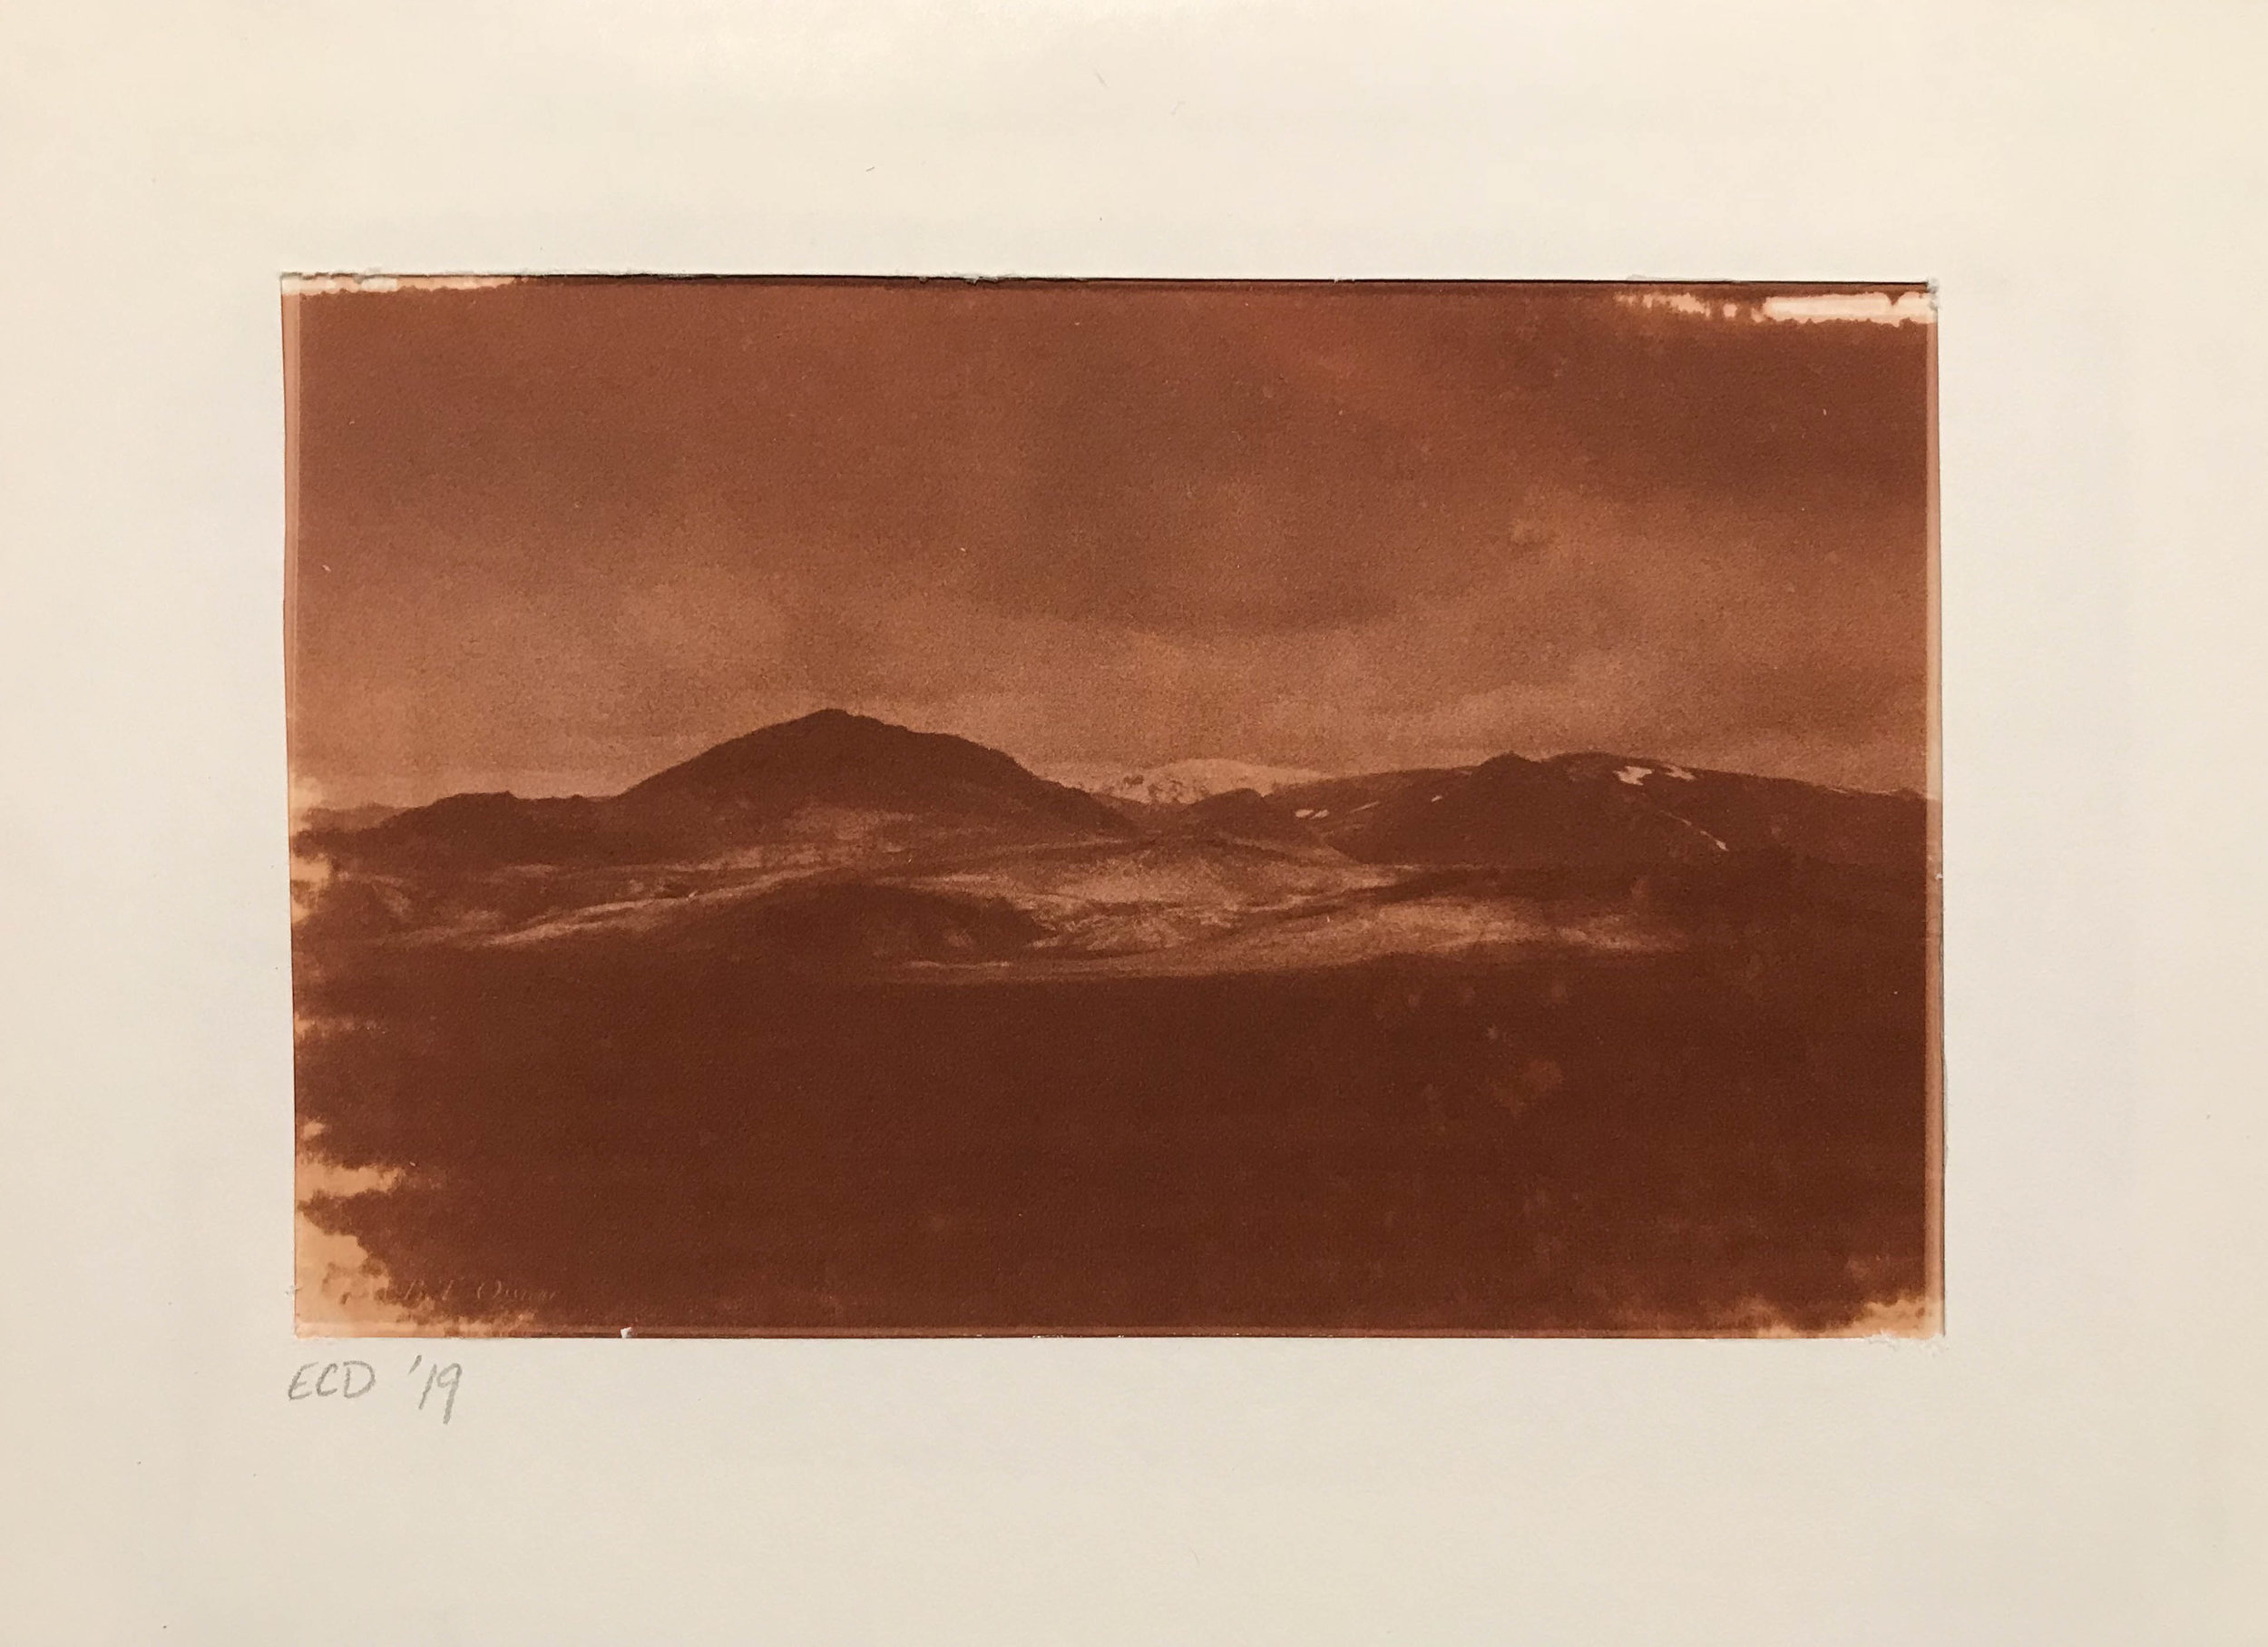
Unfortunately I was rather in a rush when doing these prints, and I didn’t have time to tone them. Usually these salt prints are toned with gold (yes, real gold), which as we all know from chemistry class in high school and our species love for gold jewellery, is a neutral element which does not rust or degrade easily. Thus, toning the print with gold vastly improves the print’s longevity and as they say in the field, its ‘archival quality’. I didnt do this, so there is a good chance the prints here will slowly fade and degrade over the years. Oh well.
Next project will be experimenting with other printing processes! Maybe some carbon gelatine printing, or maybe ill mix up a nice meringue for albumen printing!