The Idea
This is a little write up of a project I undertook, intending to teach myself a little bit of blade-smithing. The final result is something I am quite proud of, and certainly I learned a great deal from the project. Unfortunately most of the original photographs from the process have been lost, but I include the original sketches of most of the stages.
The initial idea was to build a ceremonial full tang hunting-style knife from scratch. This would include building a forge, an anvil, and forging the blade from raw steel. It would also include working with wood for the handle, and brass for the decorative aspects of the knife. Later in the build, I also decided to try some electro-etching on the blade for the initials of the recipient. So, quite a lot to think about!
The first step was researching and getting familiar with knife-maker's terminology and practices. There are a lot more things to consider in the making of a knife than you would initially imagine. The first question is about the “tang” of the knife, which is the portion of the forged metal that connects the knife to the handle. There are two main styles of tang. A full tang knife has metal completely filling the handle of the knife, sandwiched between two blocks of handle material. The handle material is normally held in place with handle pins. The second style is the partial tang, where the metal is inserted and typically glued into a pocket of the handle material, and the handle material is then carved into the desired shape.
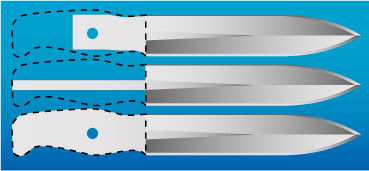
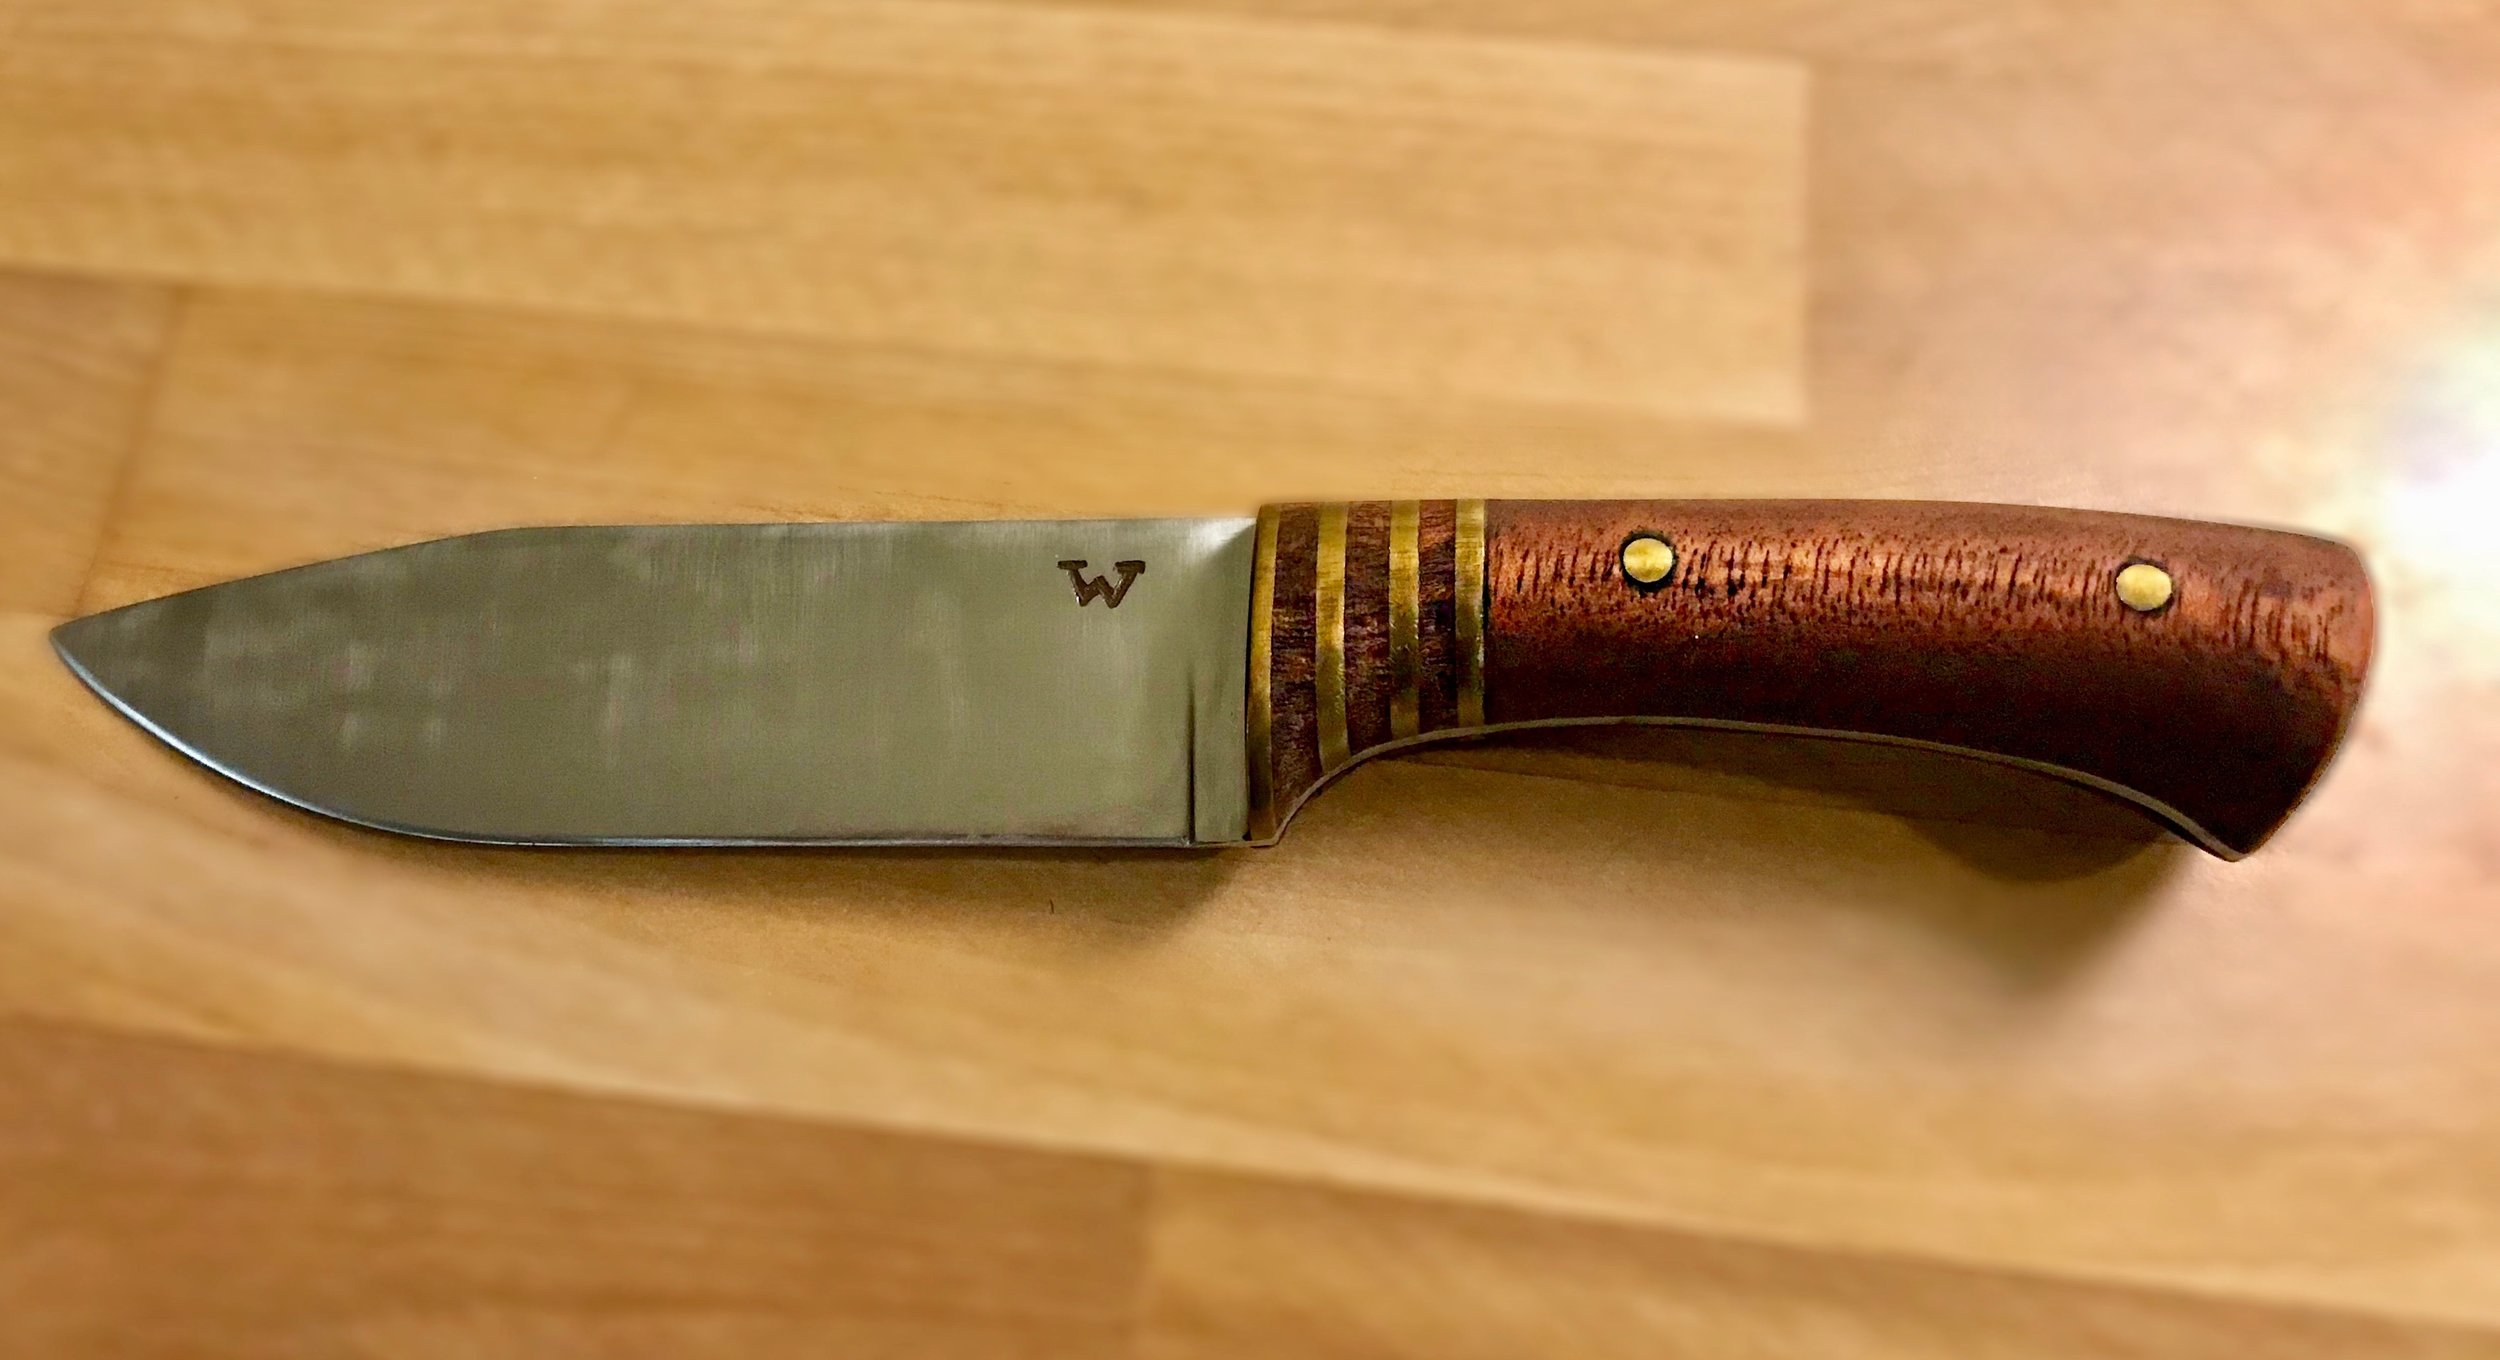
For this knife, I decided on a full tang style. Partially because I wanted the knife to have a lot of weight to it, so it felt sturdy and reliable in the hand, and partially I just wanted the challenge of the design. Once this stylistic choice was established, I was free to design and sketch the features of the knife. I had a rough idea in my head of how I wanted it to look. I wanted the blade to be about as long as the handle, with a gentle drop point at the tip (where the spine of the knife drops down slightly to meet the cutting edge), and I wanted the handle to be mahogany with strips of brass plate sandwiched between on the fore-grip. Honestly, there are about a thousand more things that a good knife-maker would consider before starting construction, such as blade angle, weight distribution, primary use, etc. But I was a bit impatient, and definitely do not qualify as a good knife-maker, so I free-handed most of my sketches, and settled on a design I liked. Seeing the design in front of me, I was bit by the excitement of making it a reality. So it was time to start preparing to forge.

The Forge
The forge began with a large cooking pot. The pot would act as the housing for the forge. In the center of the pot, I drilled a 3 inch wide hole, and laid down chicken wire over it. This hole would be the ventilation port, where air would be forced into the fire. The pot then needed to be filled with material that would withstand the intense heat of the fire. I briefly debated buying cement mix and filling it with that, but laziness and curiosity bade me to see if i could come up with my own material. I decided on something clay-based. So I went digging around in a nearby creek bed and came up with some good clay. I let this stuff dry completely, before mixing it with sand and copious amounts of fireplace ash. I had no Idea if it would work, but it seemed like a nice mix. Next, I placed a dollar-store glass vase in the pot, centered above the hole. This would form the future cavity for the forge. I mixed my material with some water, and filled up to the brim of the pot with the mixture, completely encasing the vase. I let this sit for a few days, slowly drying and 'curing' to some extent. After letting it sit, I gently broke the vase and removed all the glass pieces, leaving the cavity of the forge.
The next phase was the ventilation and tempering the forge. For the ventilation I bought an old hairdryer and fitted a long metal tube with an L-shaped turn at the end. The end of the tube sat just below the hole in the bottom of the pot, forcing air upwards through it. For the fuel, typically blacksmiths these days use either gas, or smithing coal. Being a experimental project, I chose instead some regular old lump charcoal. It is certainly not the ideal choice for fuel, as it can not get as hot as the others, it is less dense, and it tends to break apart and make lots and lots of sparks, burning everything in the vicinity (including me). But it was all I had on hand, so I gave it a try.

For tempering the forge, I filled it with charcoal and lit it normally, without any bellows. I simply let this fire warm up the forge for a couple hours, slowly adding more charcoal as needed. After the forge seemed evenly heated, I set the bellows to low speed, and let the forge heat up to the next level. I repeated this process until the forge was at its absolute maximum temperature, with the bellows on full blast. What I was aiming for was an area of the forge material which was completely melted by the heat, and then solidified by the cooling of the forge. This layer would protect the forge from cracking, and would act as a solid chamber for the metal to fit into. Luckily and surprisingly for me, the material did exactly that.
With the forge assembled, I started work on the anvil. Again, I could have bought an anvil, but they are expensive, and I figured it would be fun to try to make one myself. I took a 3 meter section of railroad track, cut it into 4 sections, and then welded them together side-by-side. Once I ground down the welds it left me with a smooth flattened surface I could work with. It wasn't perfect, but it had the weight and stability to get the job done.
The Knife
The steel for this knife was a meter long bar of tool steel, and really I am not sure the specifics beyond that. Knife-makers are pretty obsessed with their steel types, as each “recipe” has strengths and weaknesses when they are forged into blades. The thing is though, these steels all require pretty precise forging temperatures, annealing processes, quenching oils, and tempering procedures. I knew that my forge is unreliable at best, and I for sure don't have the ability to be so precise with my set-up, so I didn't concern myself with getting the best of the best when it came to the steel.
First step in forging was annealing. This process softens the steel for the forging process. I fired up the forge, held the metal in until it reached a cherry red, and plunged the steel into a bucket of leftover fireplace ash.
Next step was the forging! This process was basically trial and error. I had no experience, so I just took it slow, checking my progress and making sure I was not overdoing it. It is much easier to slowly create a shape of the blade than it is to go too far and try to correct it back into place. The general goal was to slowly curve the blade towards the tip, and then drop the spine to meet the curve. Also to slowly thin down the blade side of the knife, saving work on filing it later. This whole process was difficult for me, as I was used to woodworking and sculpting where I am able to touch the surface, to inspect, feel, and analyze where things need to be moved, or removed. But in blacksmithing, your eyes have to observe and sense much more clearly. It was an interesting sensation to get used to.
After working slowly to a point that I felt was “good enough” I set the bar down to cool. Up until this point I was working with a 50cm length of the steel, which helped me move it between the forge and anvil. Once cooled however, it was time to lay the pattern onto the tang area and start cutting it to shape. I first drew out the design on paper, and cut out the shape to glue it to the metal rod. I next cut and ground around the paper cut-out with just a typical angle grinder.
The next 8 hours of my life were spent filing down the blade to the correct profile with various metal files. This is...well, let us just say it’s not the most thrilling stage of the process, but in terms of final quality of the blade, this process is the make-or-break time.
Final Blade Shaping
The last step of blade-work was the drilling of pin-holes in the tang of the knife, hardening and tempering the blade, and then a final sanding. Hardening and tempering are the processes where you first shock harden the metal to make it extremely hard, but also brittle, and then slowly heat the metal again to make it springy and just a little bit malleable. The first step is to heat the blade rocket-hot in the forge, and then plunge it into used motor oil. I didn't have any used motor oil on hand, so I improvised by grinding up charcoal into regular engine oil. The important thing is that the oil is full of carbon, which enters into the metals structure and makes it extremely hard. Again, this is a process that any self respecting knife-maker would have down to a science, both with the exact heat for the specific metal, and the correct type of oil. But even without this type of precision, you can see whether the process was successful by running a metal file over the surface of the knife after hardening. Even pushing down quite hard on the surface, the file will simply skate over the surface, not leaving any marks. Even considering my rudimentary setup, I achieved this quite satisfactorily. Next was tempering, which is probably the easiest step, and finally one which I was sure I could do precisely. In this case, the blade was placed in a 400 degree oven for 4 hours, and then cooled to room temperature. Thats it! This step relaxes some of the hardness out of the blade by relaxing the internal molecular stresses induced by forging and hardening. At this point, the knife was roughly the correct shape, but was blackened and covered in carbon scale from the hardening. so the next step was to wet-sand the blade to mirror smooth.
Handle Construction
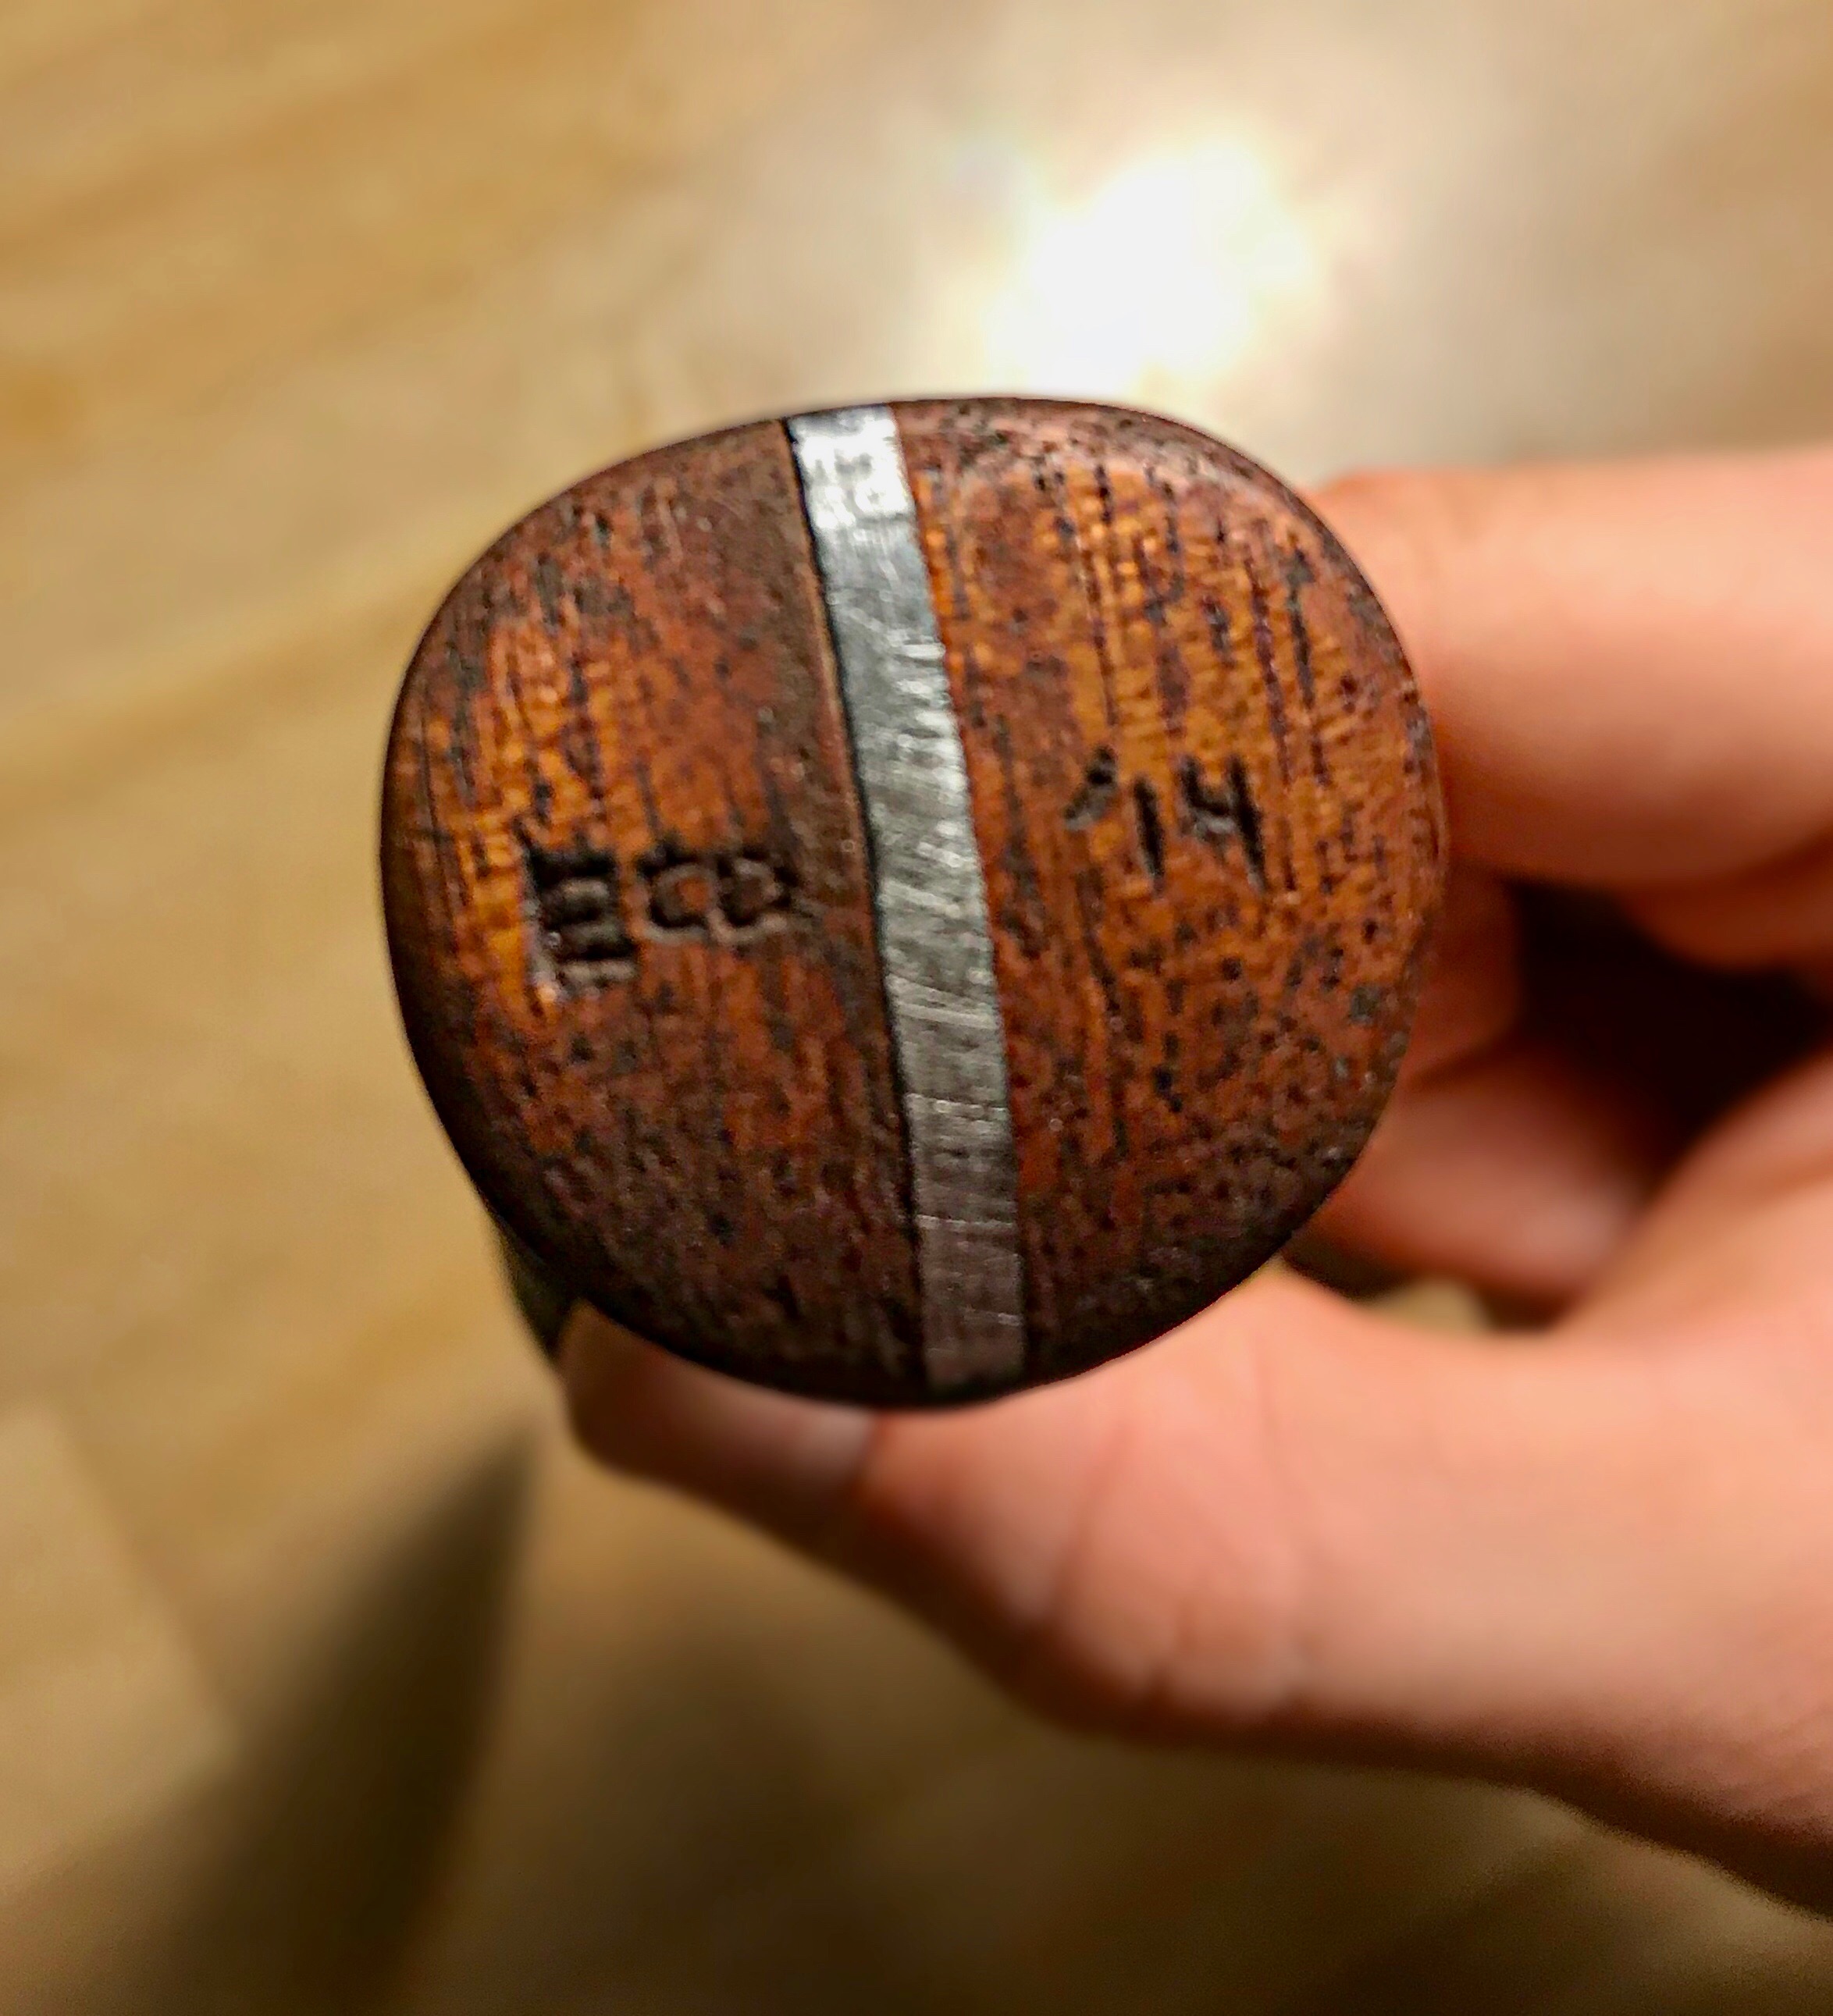
The handle of the knife was made from some leftover mahogany pieces I had from a previous project. At the front of the handle I cut some brass plates and sandwiched them between strips of mahogany, then began shaping them to the form of the handle. I carefully drilled two holes through the mahogany handle stock to line them up with the tang holes, and then cut and placed the brass handle pins. Then it was a simple matter of shaping the handle to the tang, and sanding it smooth. For a finish, I coated the wood in dark mahogany stain, and then in boiled linseed oil, which gave a nice gloss, and should protect the handle from water. The making of the handle was really my favorite part of the process, as I was finally working with a material I was familiar with, and could feel and interact with the surface as I shaped.
Electro-Etching
The final process on the knife was another that I had yet attempted. I wanted to put a personal touch on the blade, as this knife would be a gift to a friend. So I began the process of electro-etching into the metal. I set up a pretty basic electro-etching contraption, which was simply a 9-volt battery with a copper wire taped to the blade from one terminal, and another wire wrapped around a Q-tip coming from the other terminal. For the etching-medium, I used a simple salt water solution. I masked off the blade, and cut away a small "W" through the tape, exposing the metal below. I then dropped a small amount of the salt water onto the Q-tip and metal, and touched the Q-tip to the metal. Immediately the water turned brown and began bubbling vigorously. When I was satisfied with the depth of etching, I removed the masking tape to reveal a nice "W" there on the blade. Success!

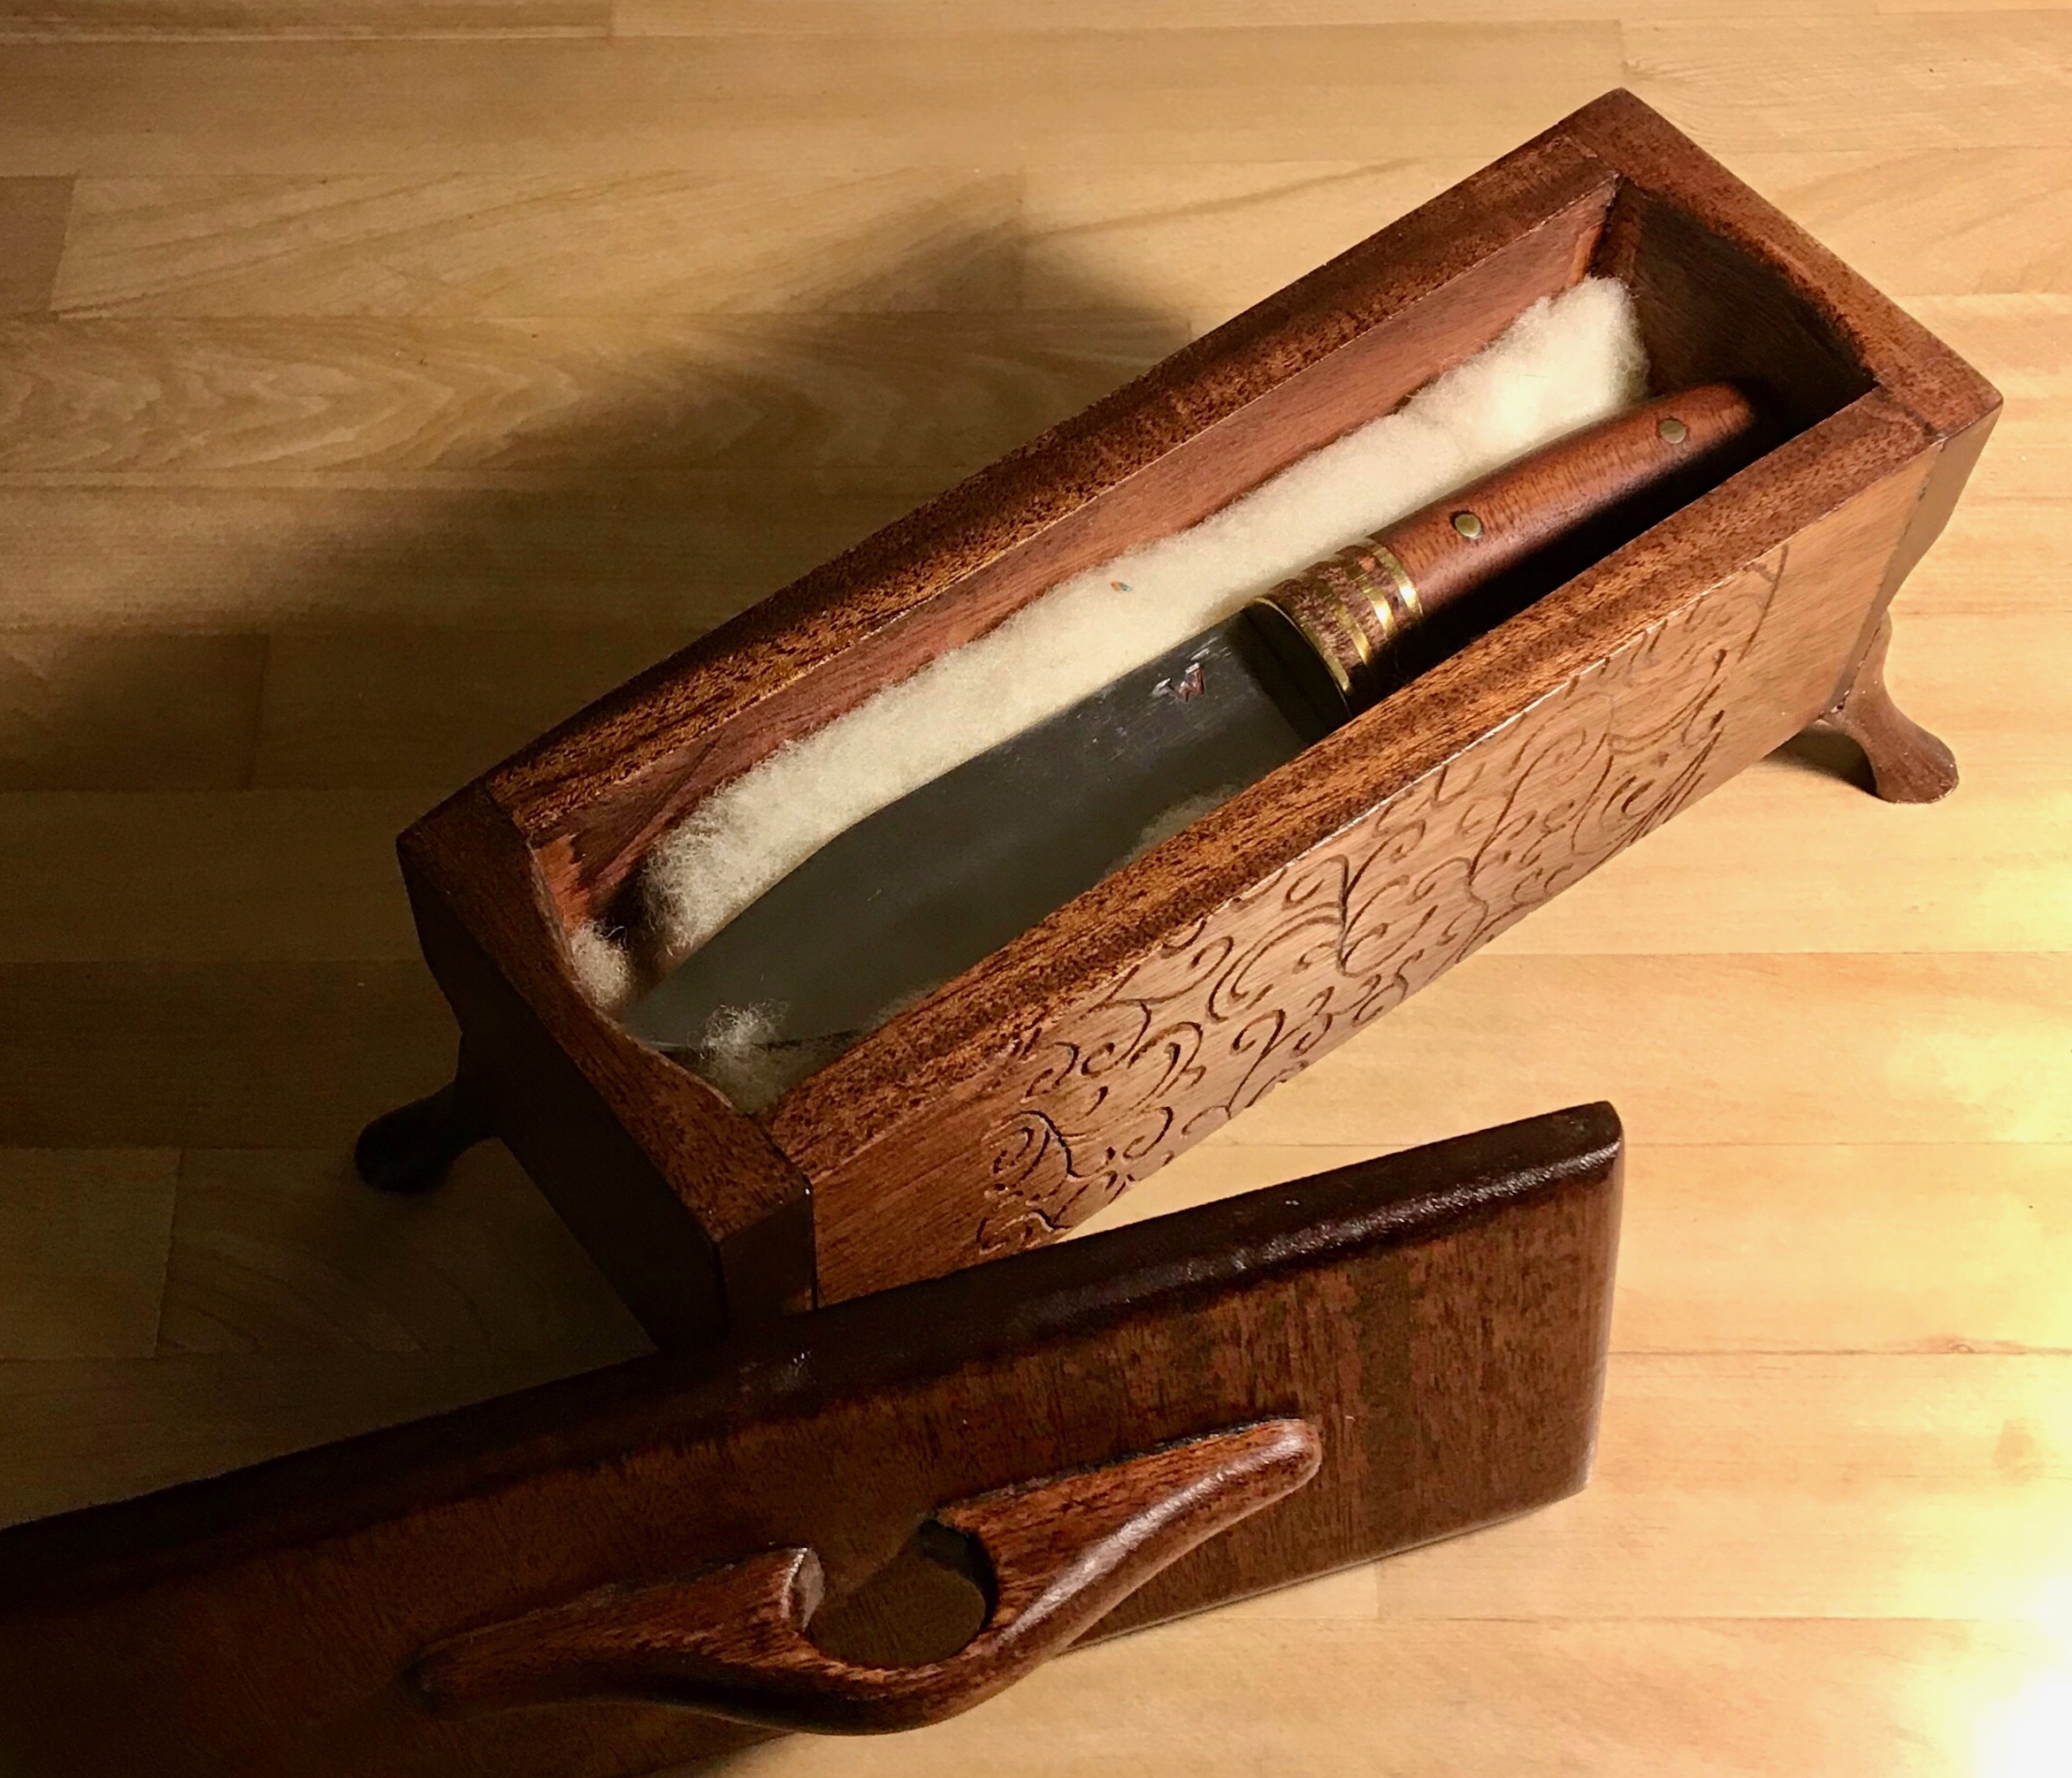
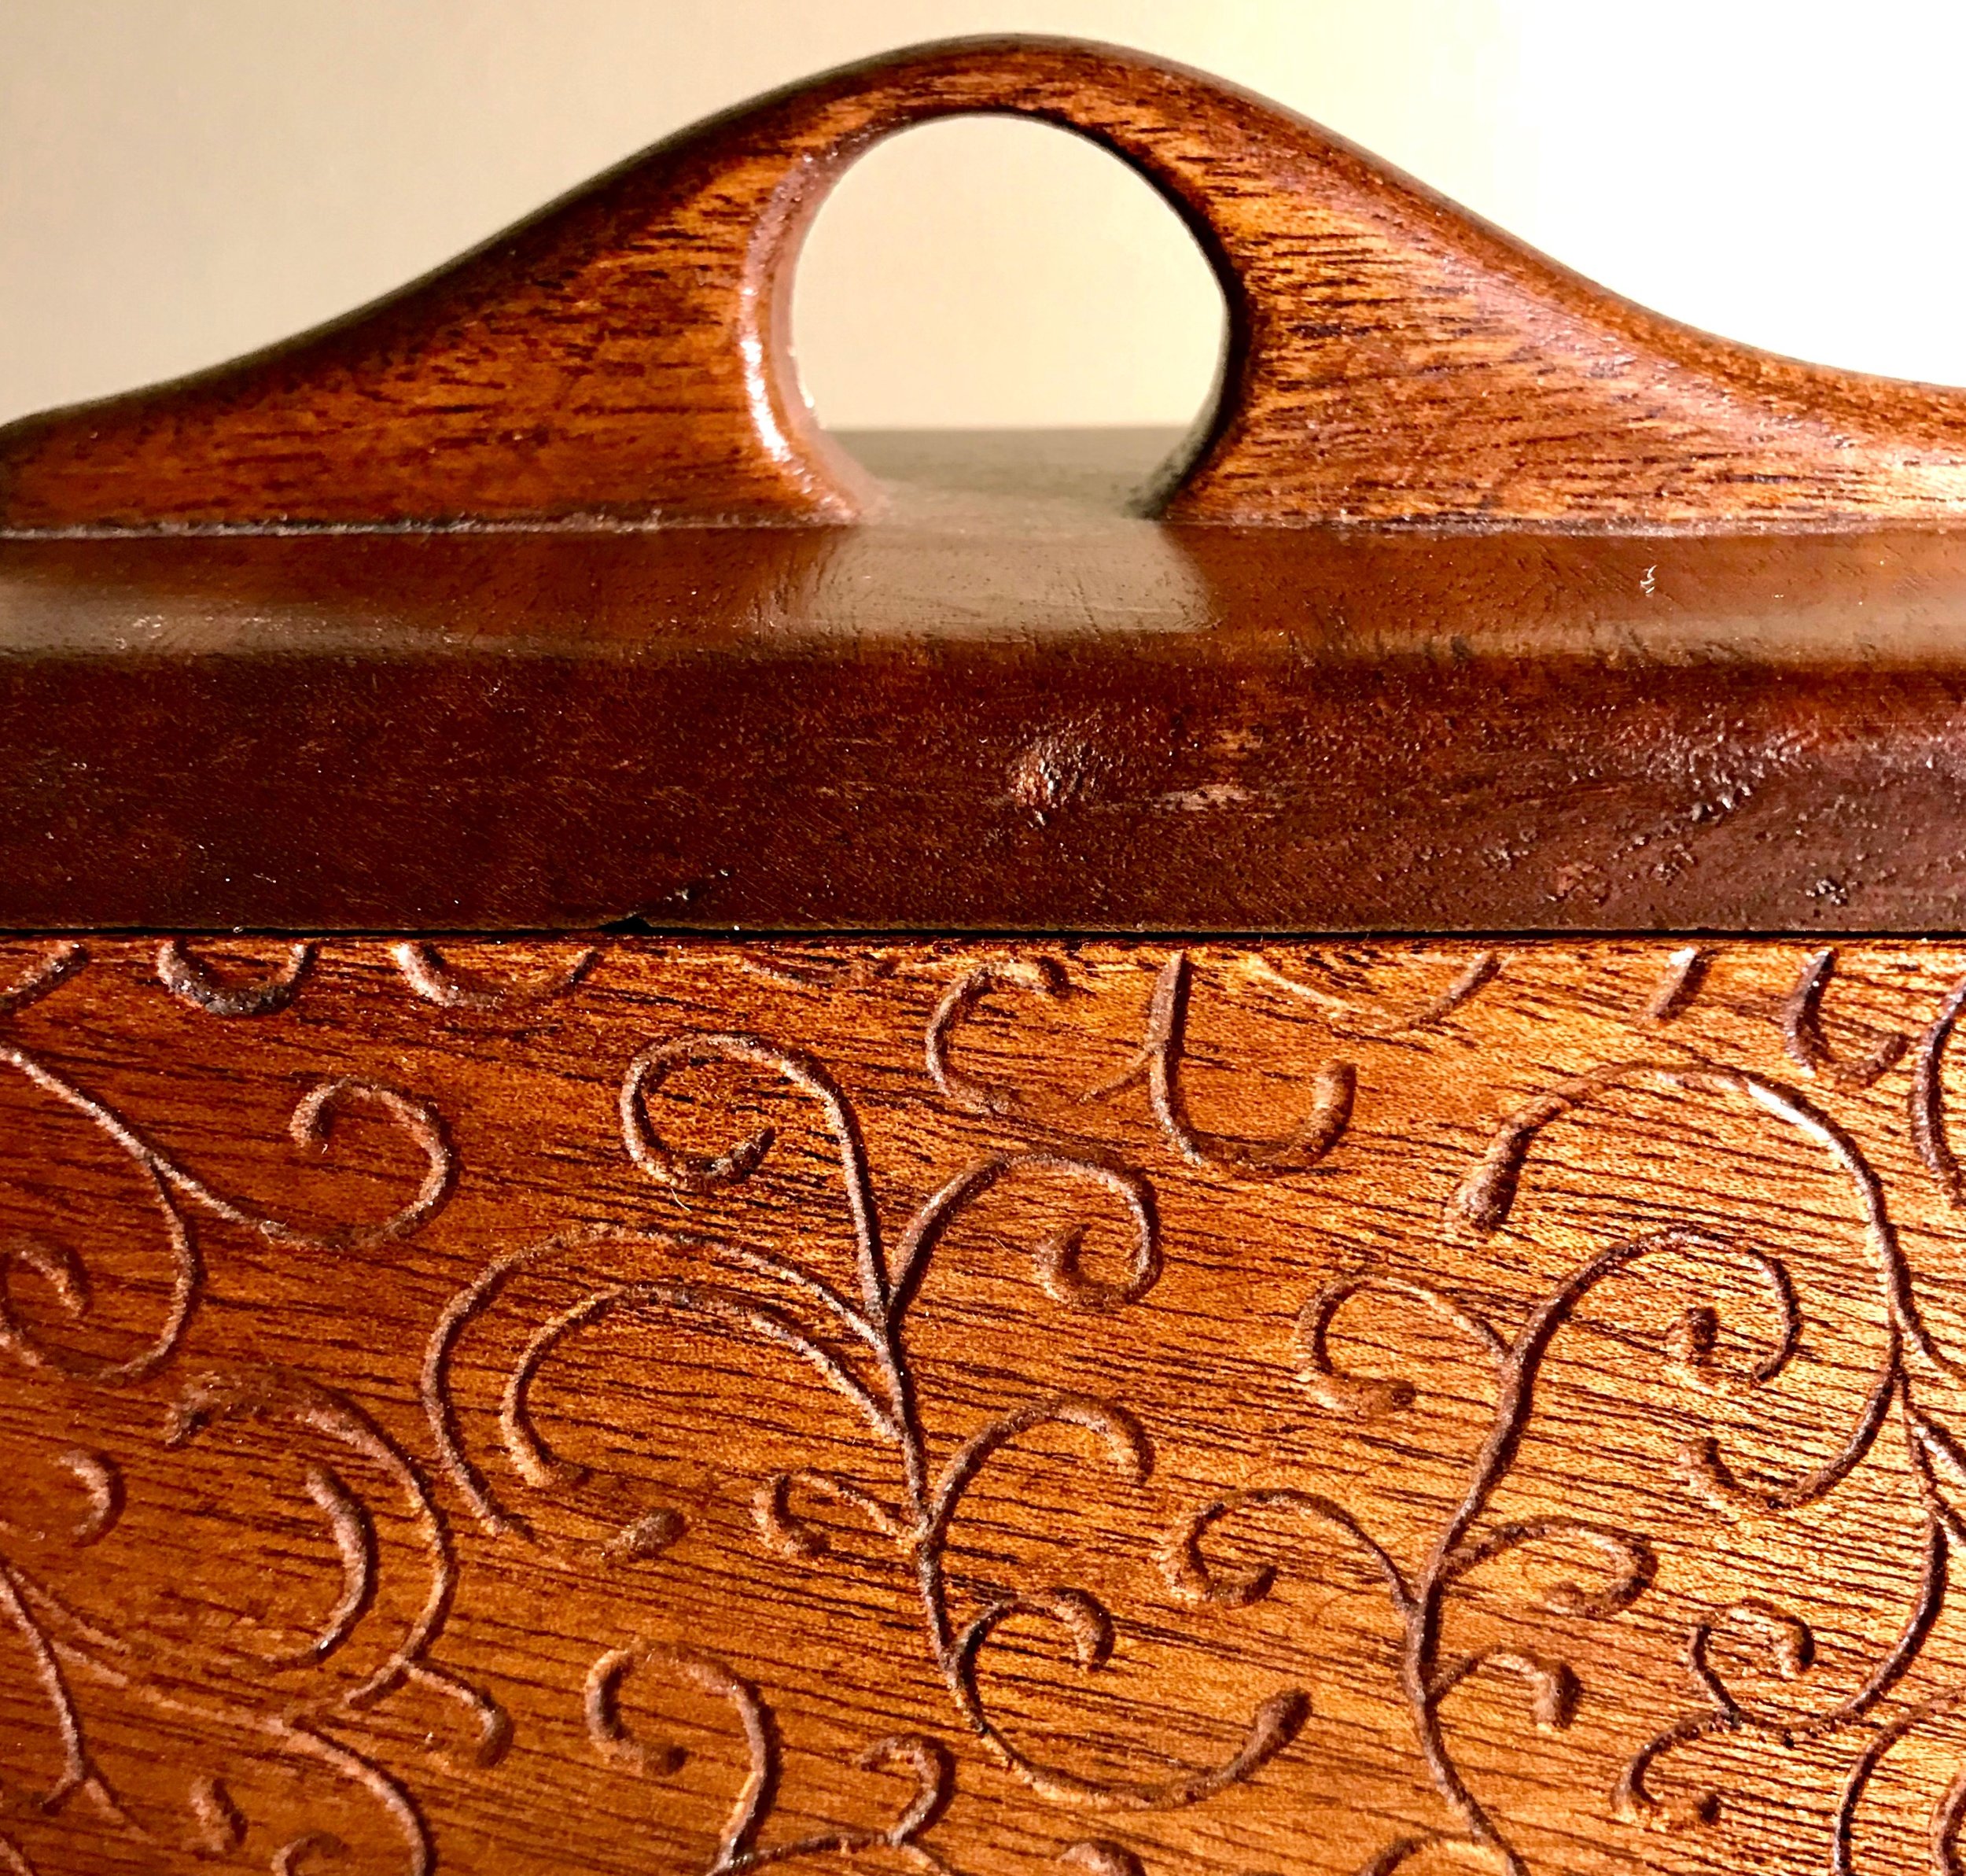
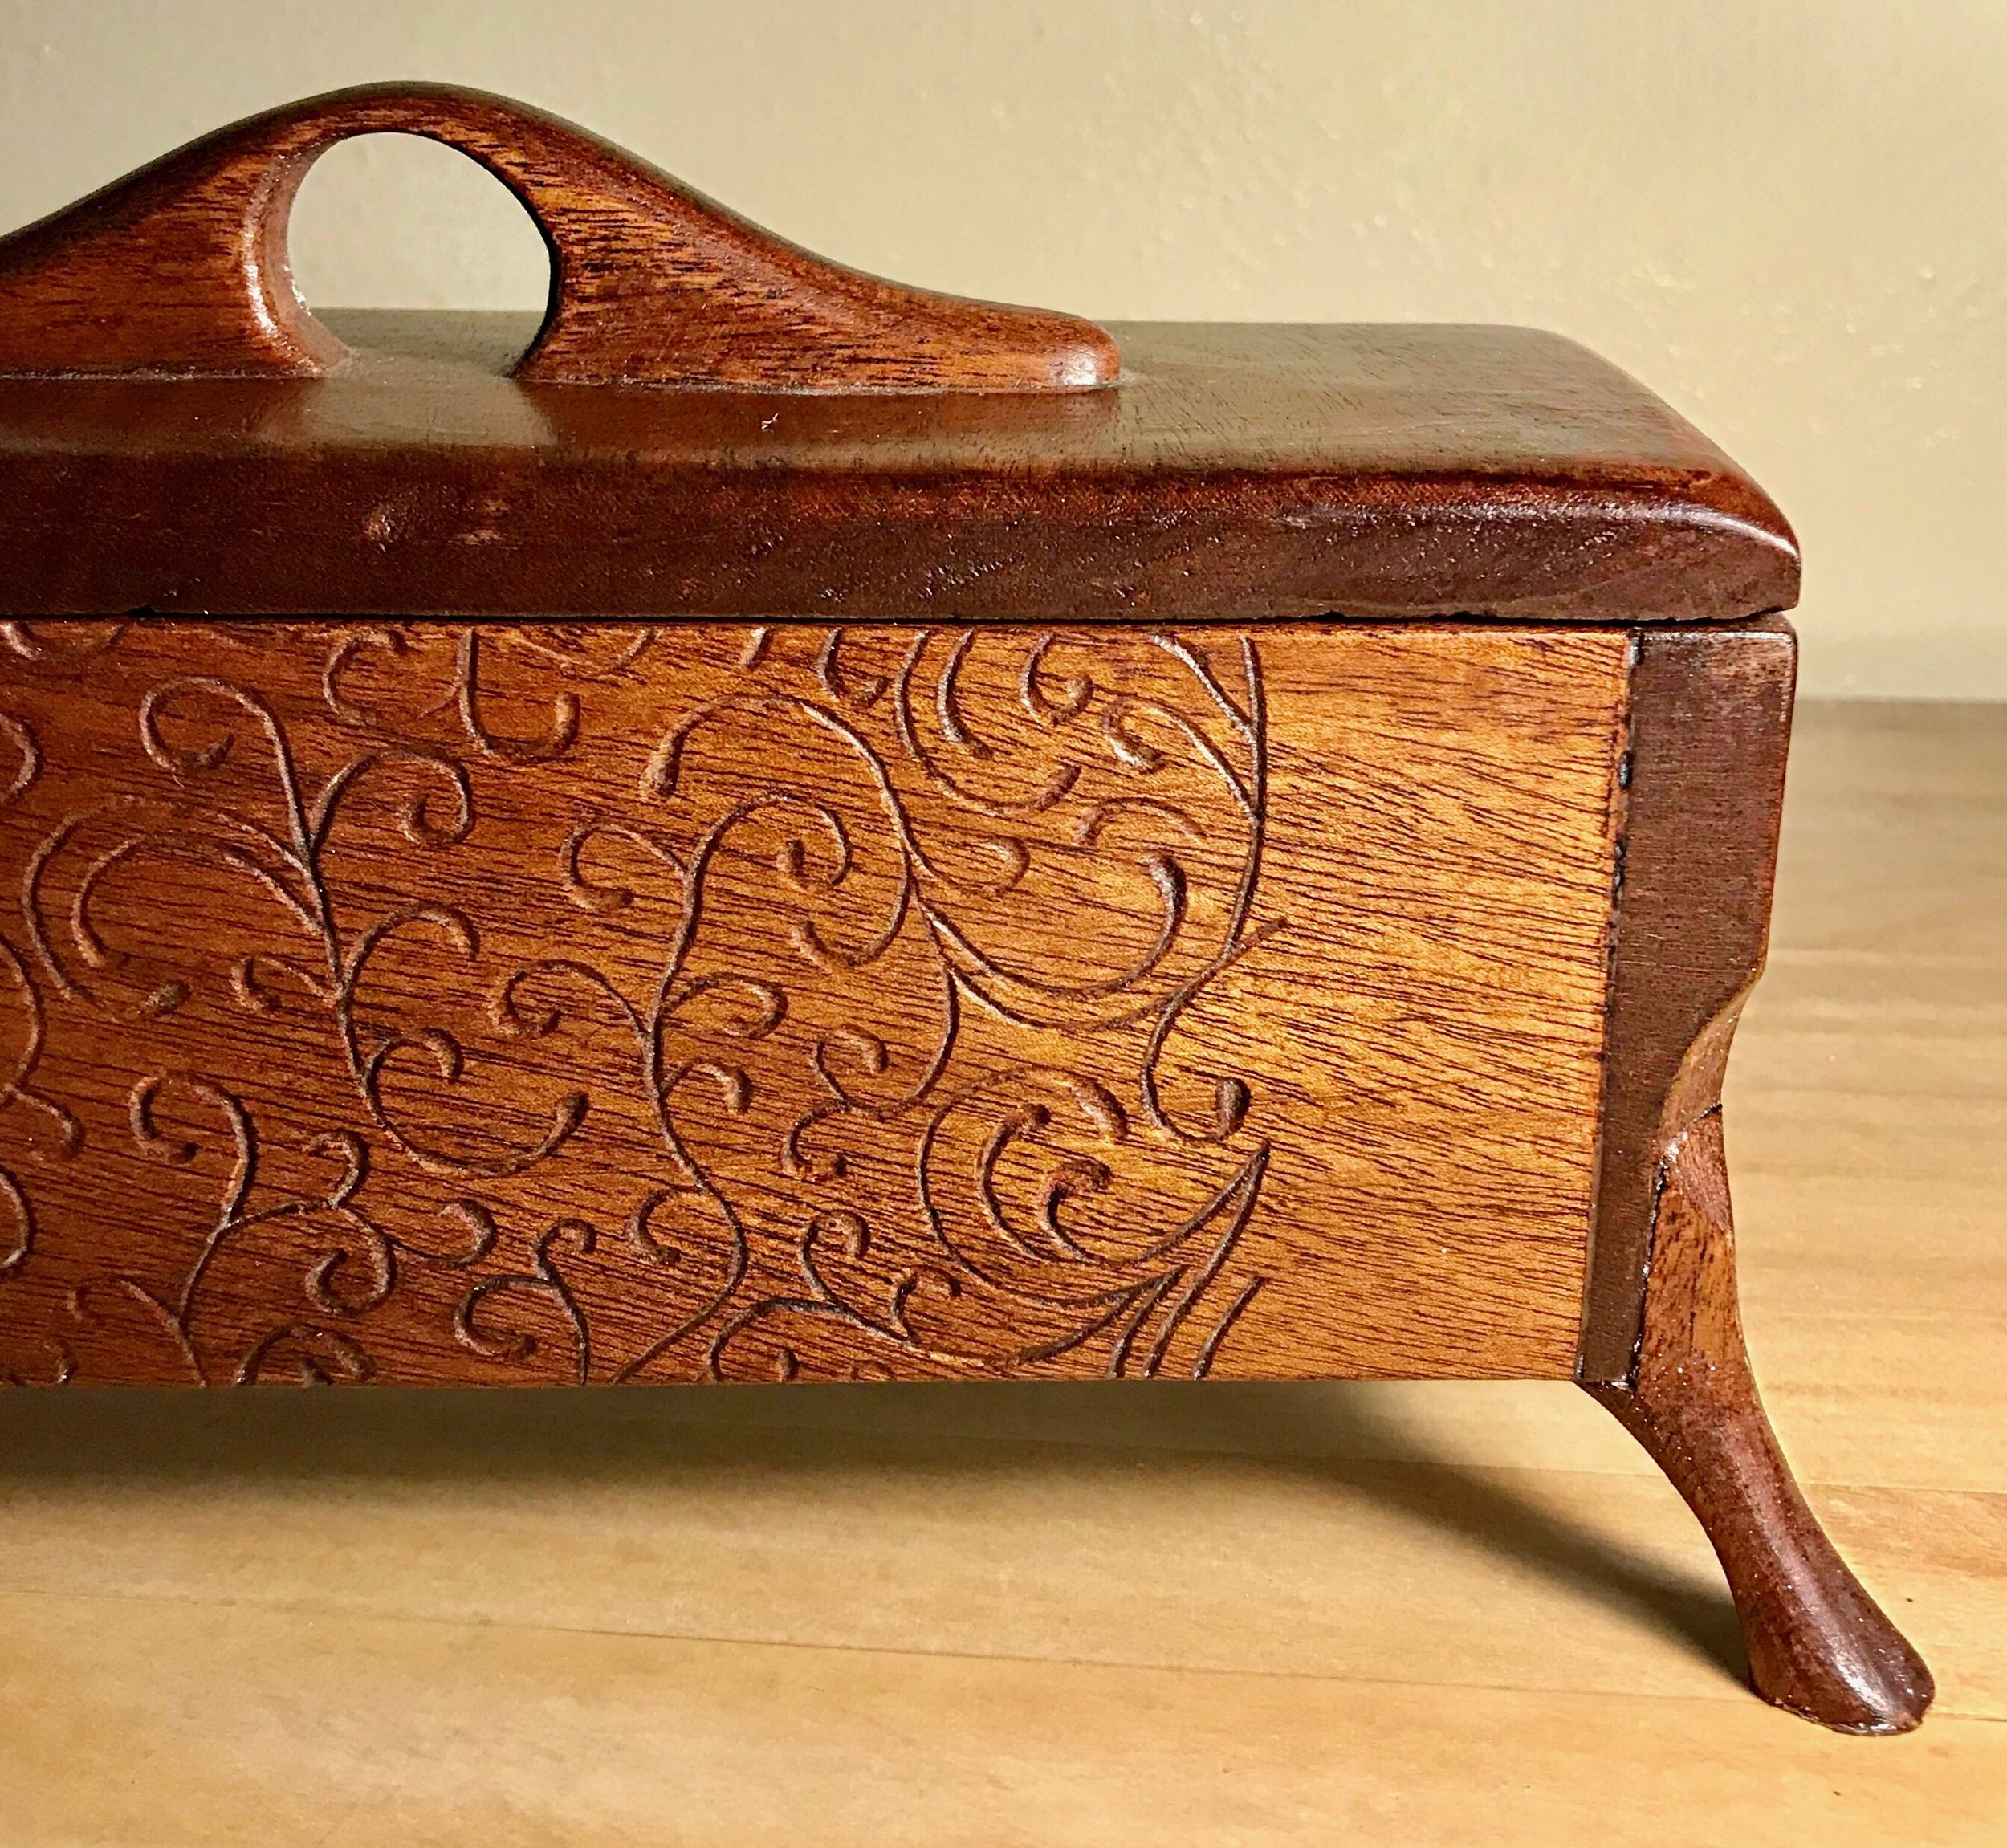
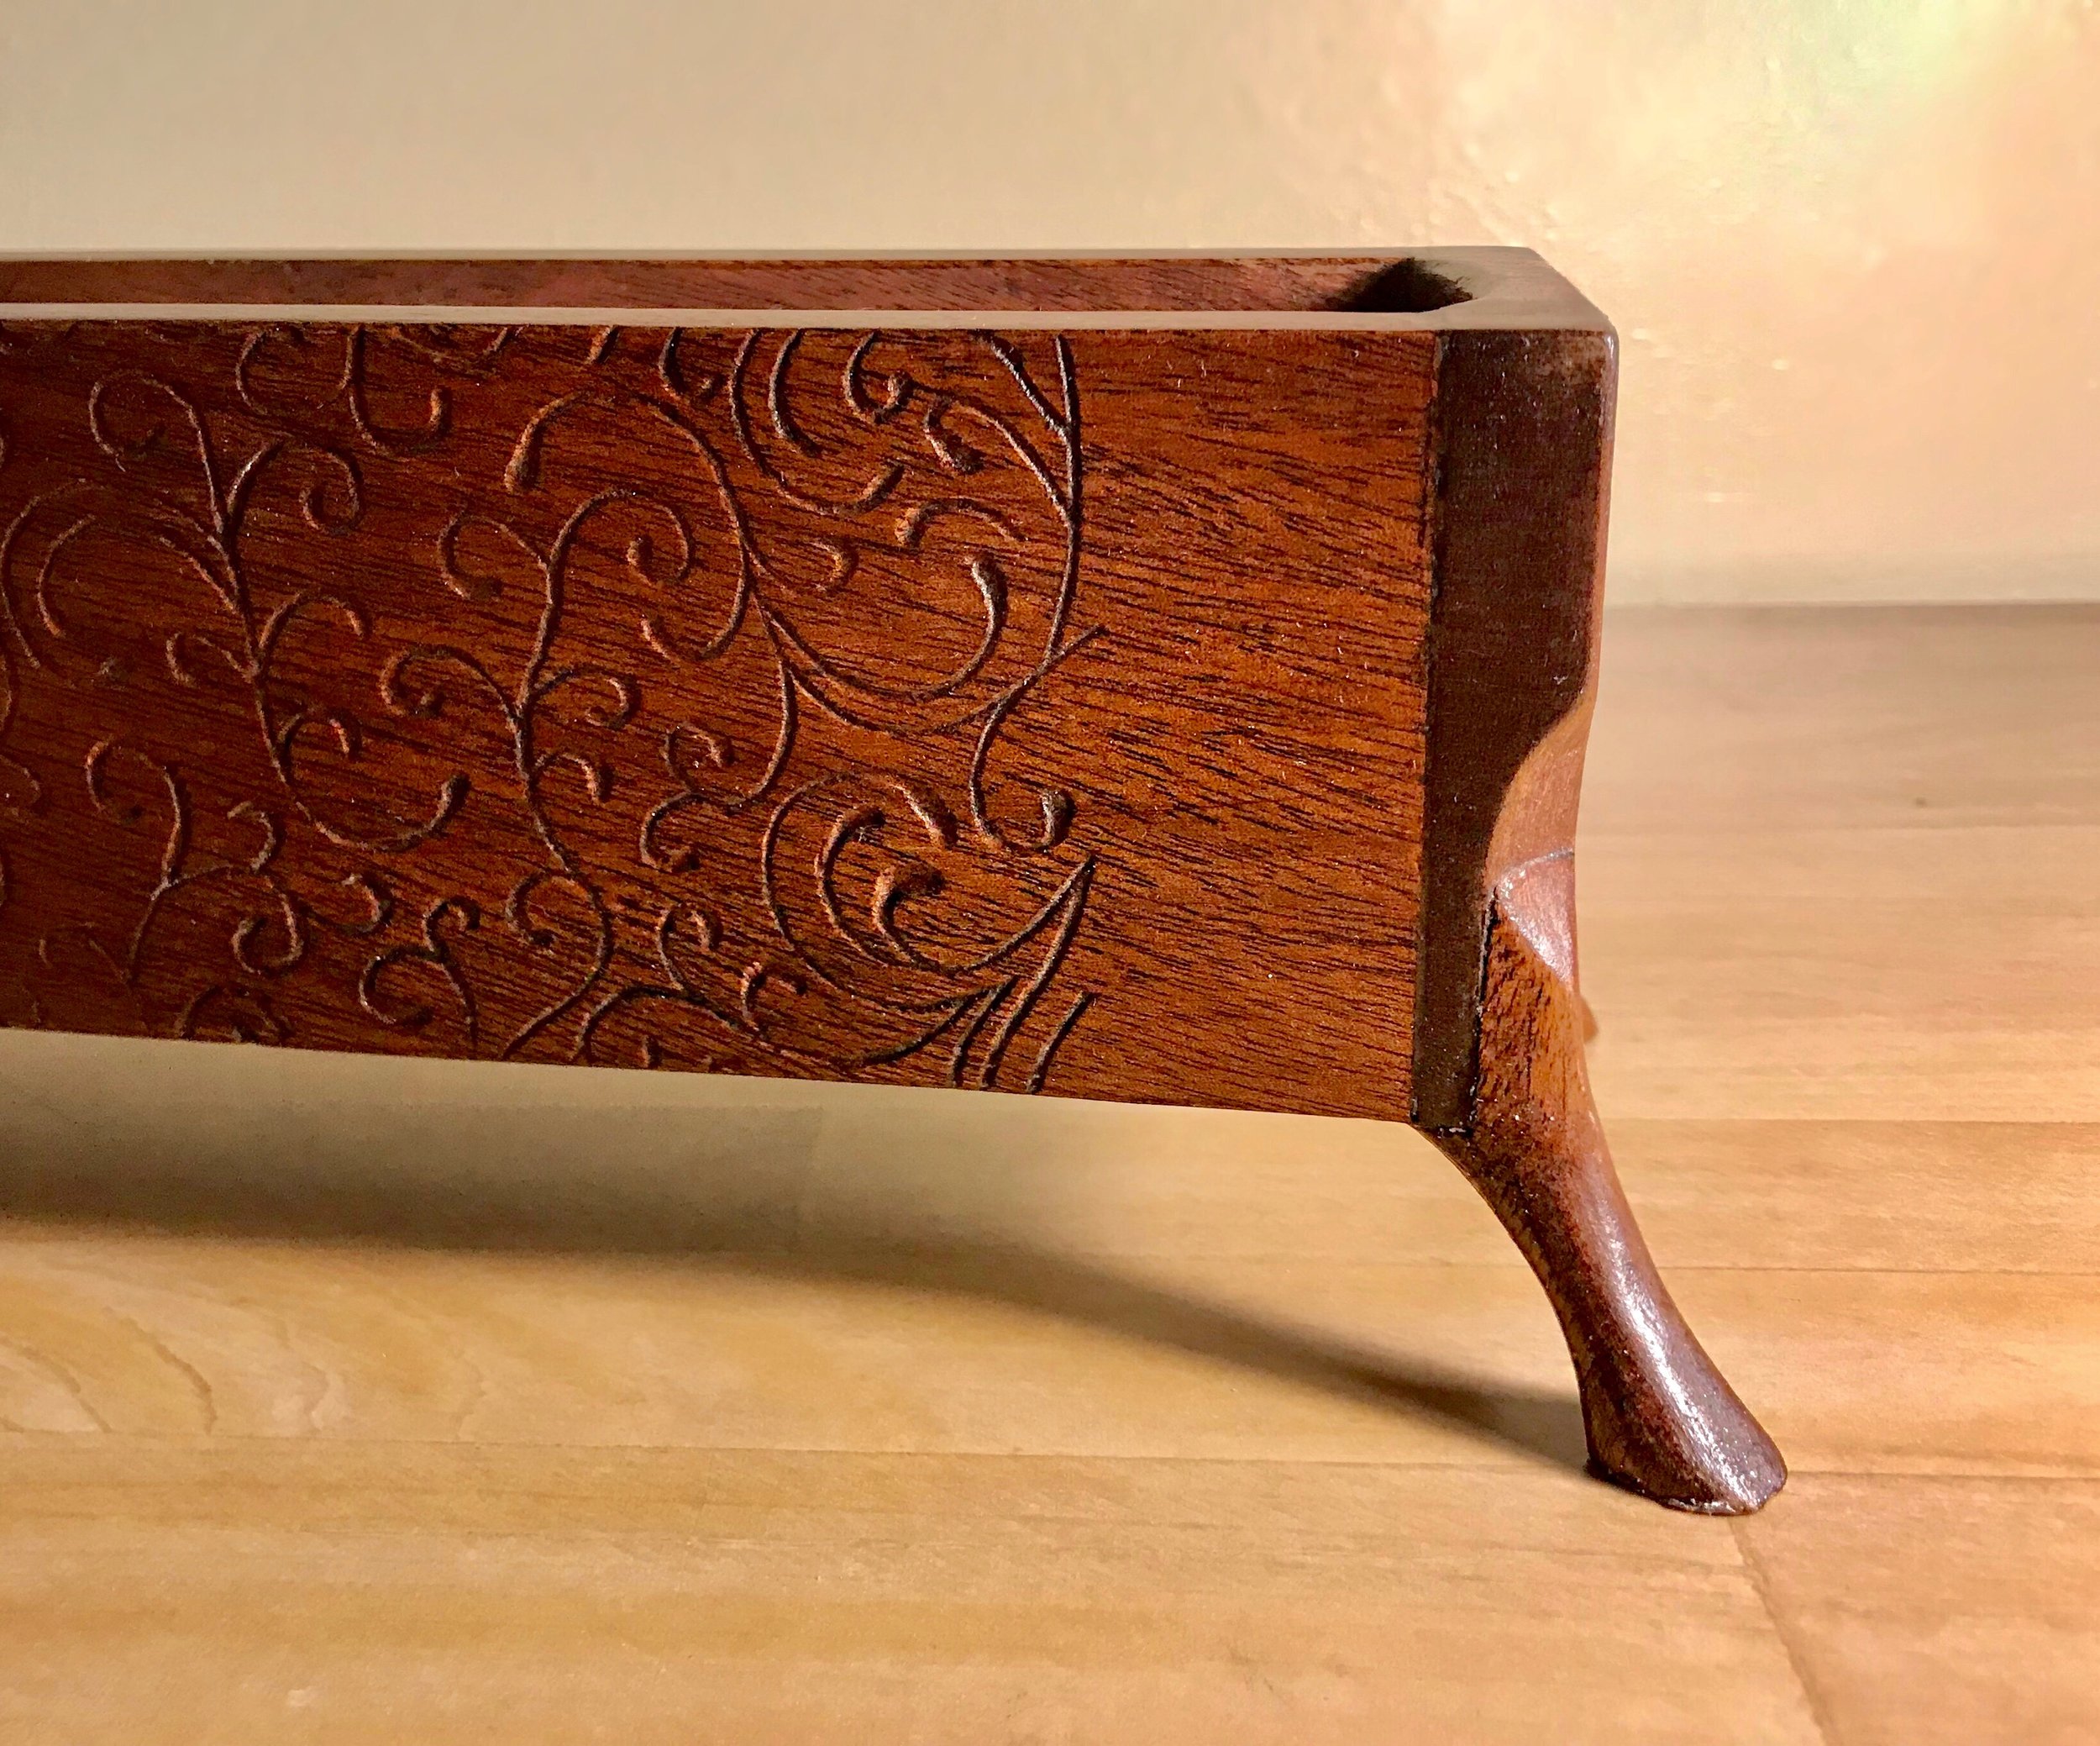
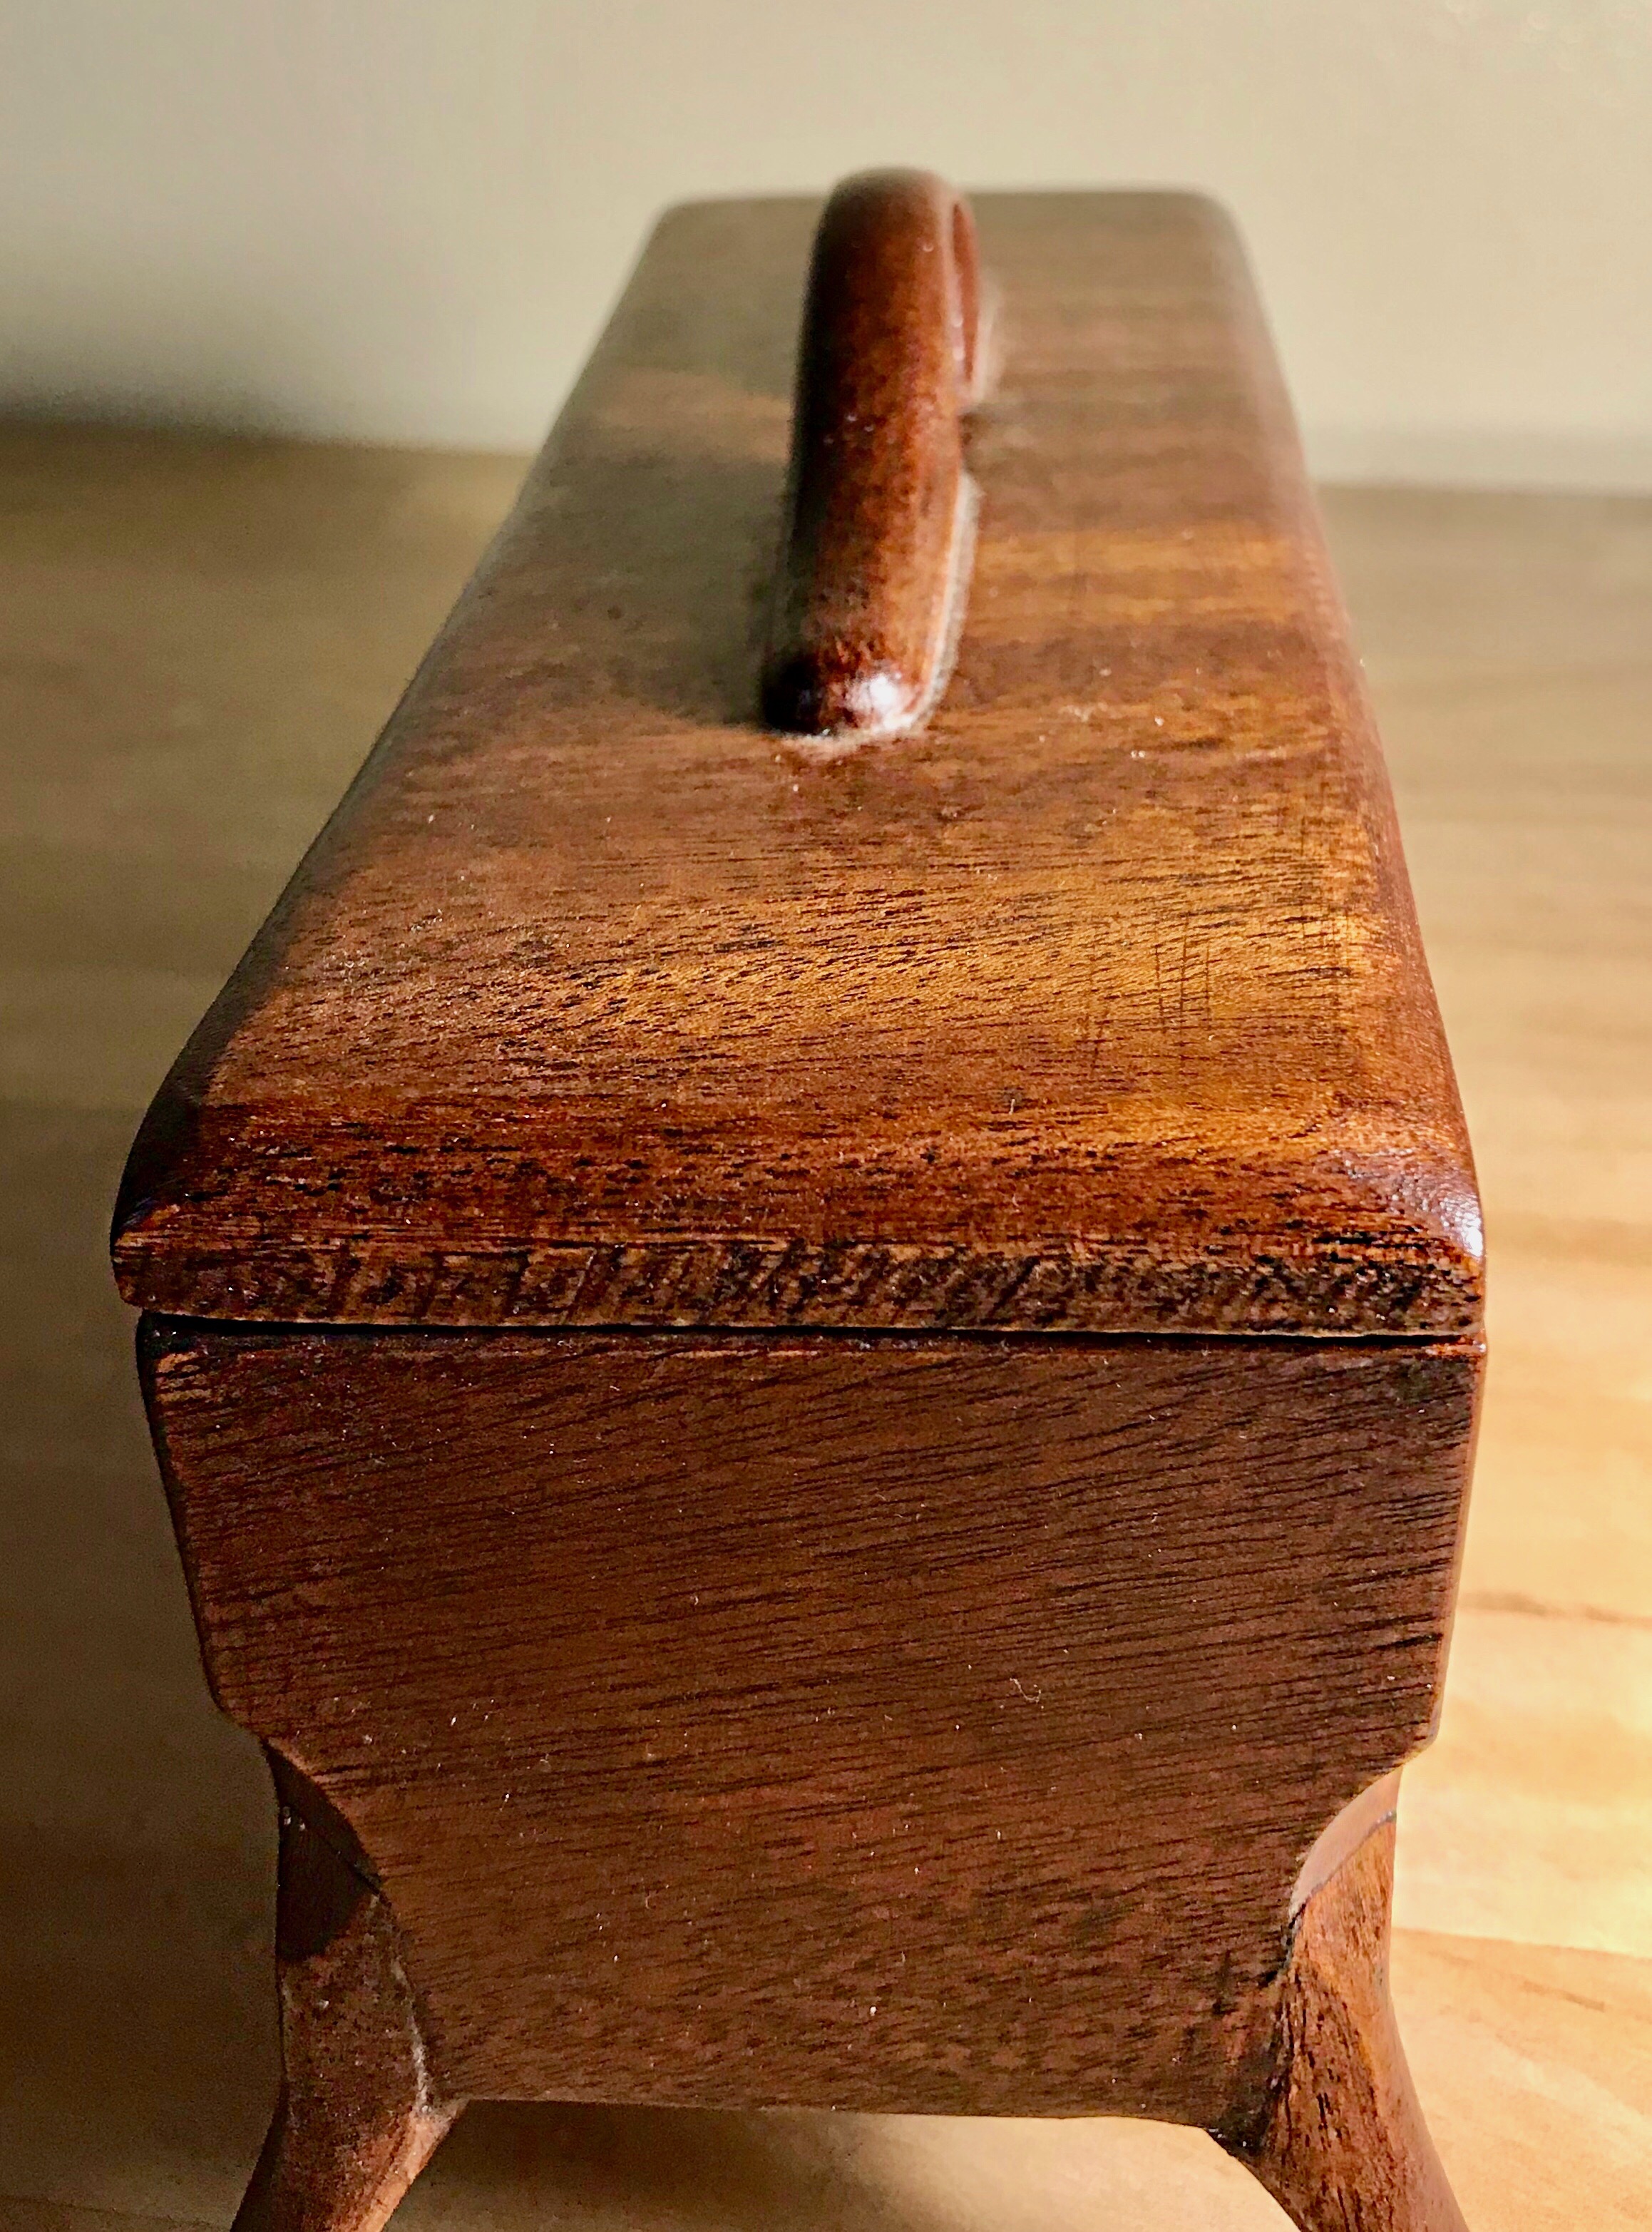
Box
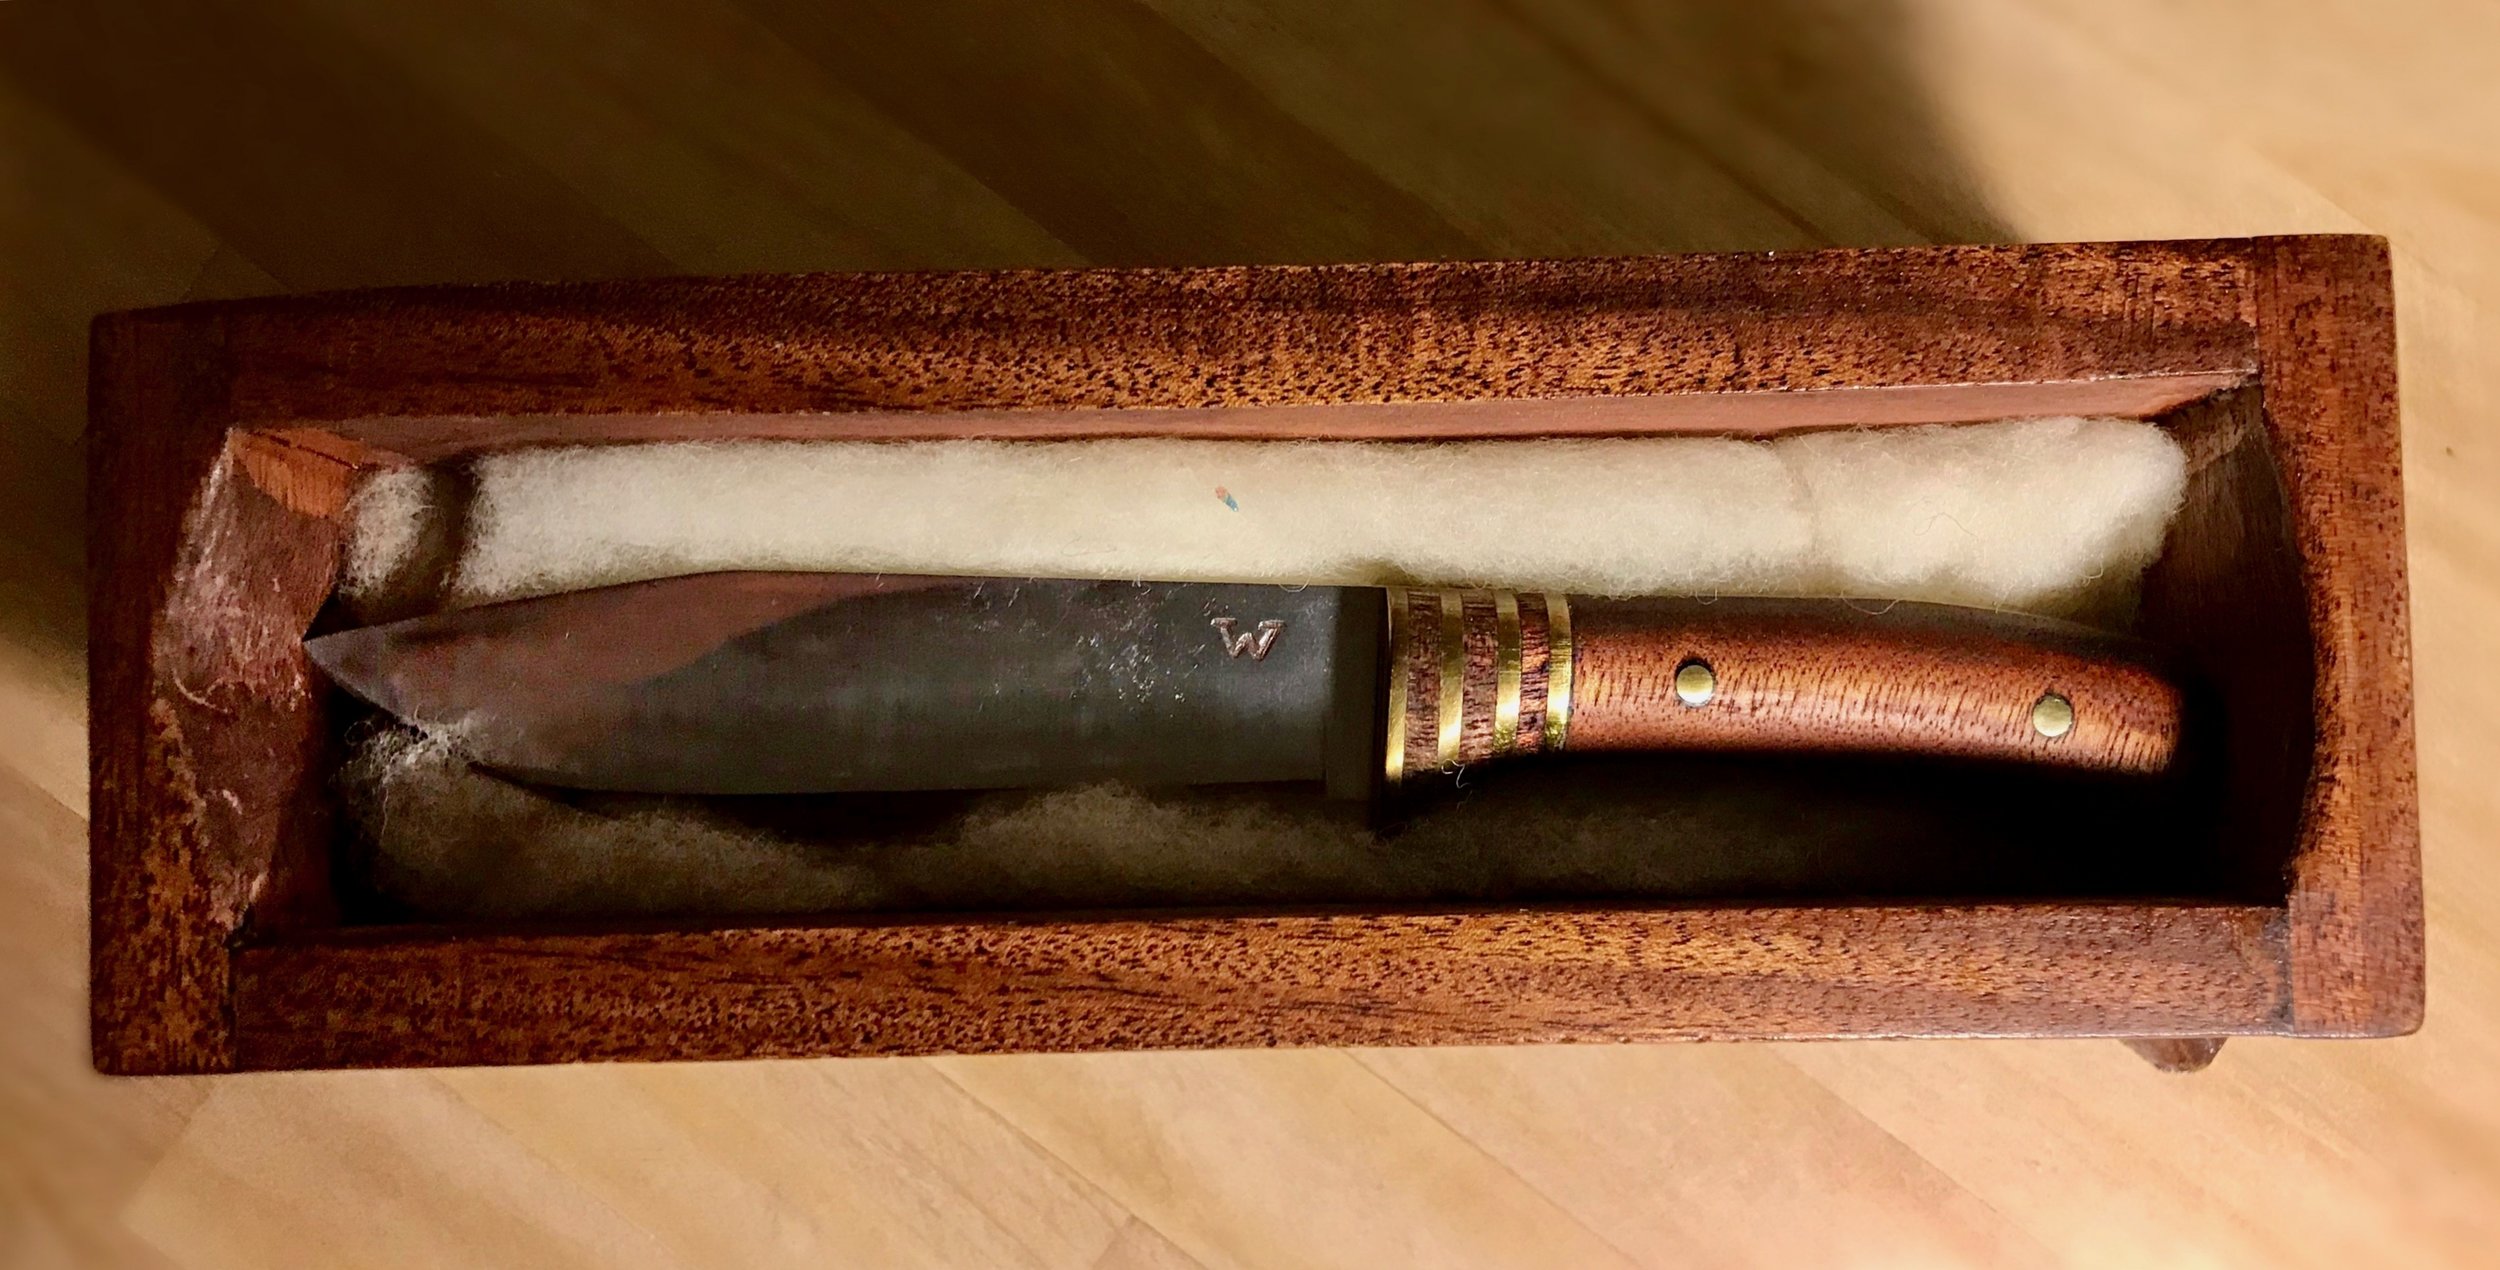
For the decorative box, I again turned to some scrap mahogany. I built a simple box for the knife, with decorative feet, a nice lid, and some nice carvings along the sides. I stained and finished the box in the same manner as the knife, so it matched the handle colour, and then laid down some wool fluff on the inside to hold the knife inside.
Final Result
With the finishing of the box, the project was complete!